Full Tutorial
These are the steps you need to follow to use the Bethel site.
01. Creating Bethel zkpStorage Account and DID
Step 1:
• Get the free Polygon ID App.
Step 2:

Step 3:


Step 4:


Step 5:


Step 6:


Step 7:


Step 8:


Step 9:


Step 10:


Step 11:


Step 12:

02. Bethel ZKP Storage Register
Step 1:


02. Bethel ZKP Storage Register
Step 1:

Step 2:

• Paste your DID and click "Submit"

Step 3:

• Scan this QR using your Polygon ID app.

Step 4:


03. Bethel ZKP Storage Login
Step 1:

• Credentials is added.


03. Bethel ZKP Storage Login
Step 1:

Step 2:

• Again scan this QR using the Polygon ID app.

Step 3:

• Now Redirect to this window.

Step 4:


Step 5:


Step 6:

Step 7:


• If you have already installed MetaMask ignore the steps 7 & 8.
• If you want to install MetaMask manually ignore the steps from 7 to 11 and follow the steps in Creating Wallet Address.
Step 7:
• Once you are logged in, the error message "Meta mask is not Detected! Please install Metamask" will be shown in the bottom of the page.

Step 8:

• And then you'll be redirected to the following page.
• Choose the correct extension for your computer and install it.

Step 9:


• After the installation of Metamask it will pop up a message to connect with MetaMask. Click it.


Step 10:
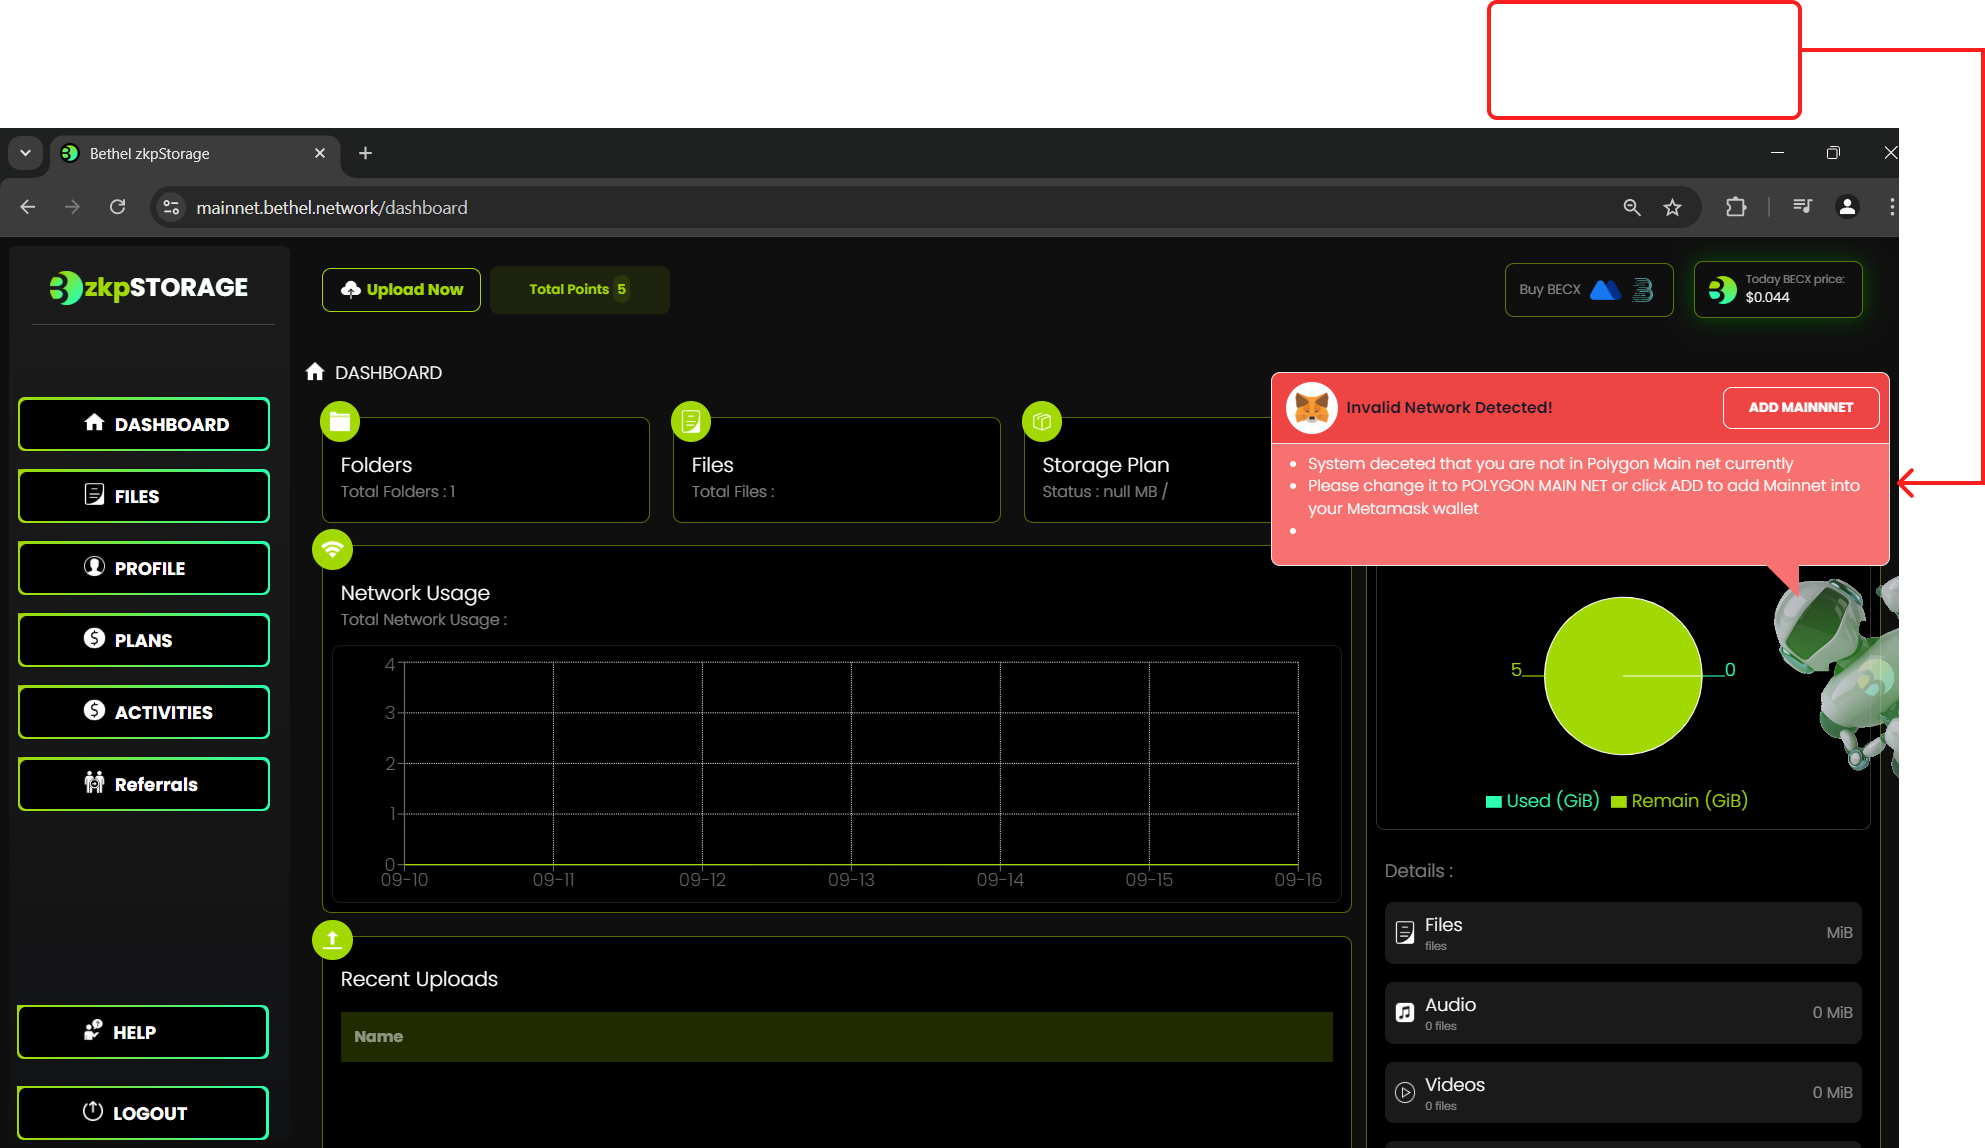
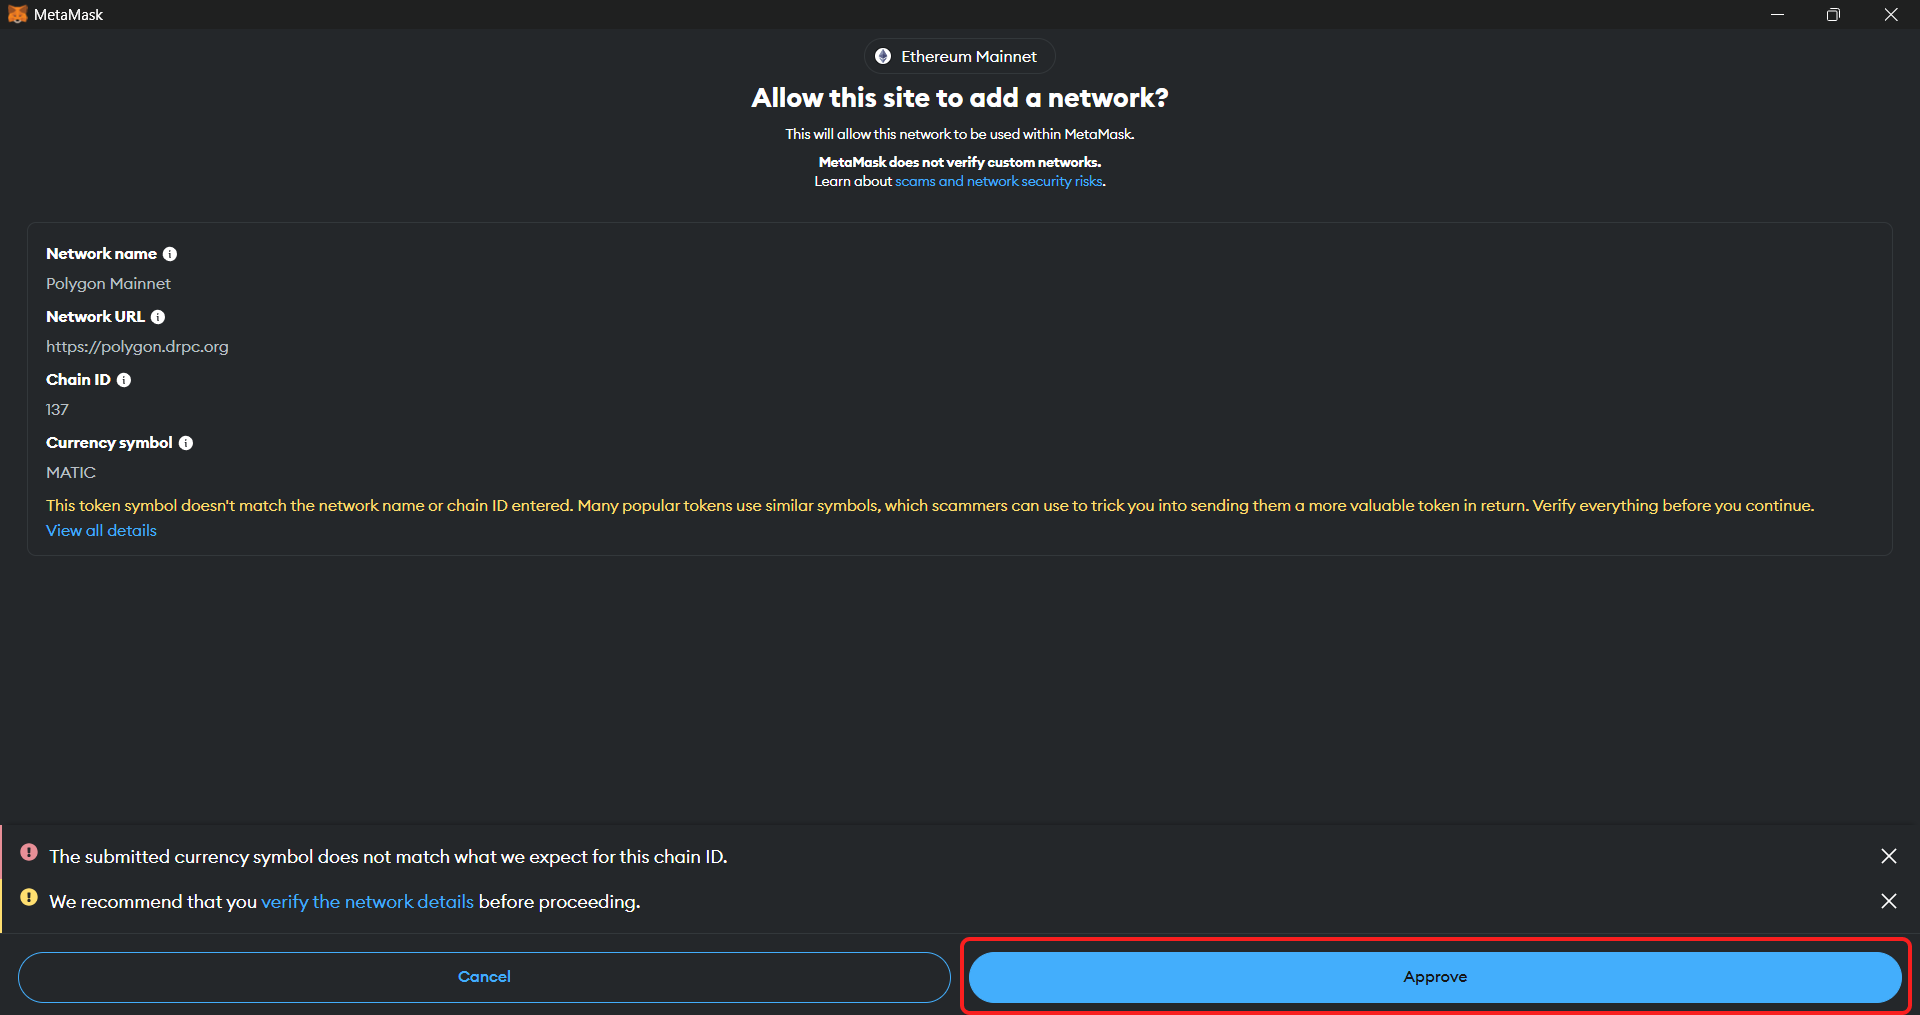
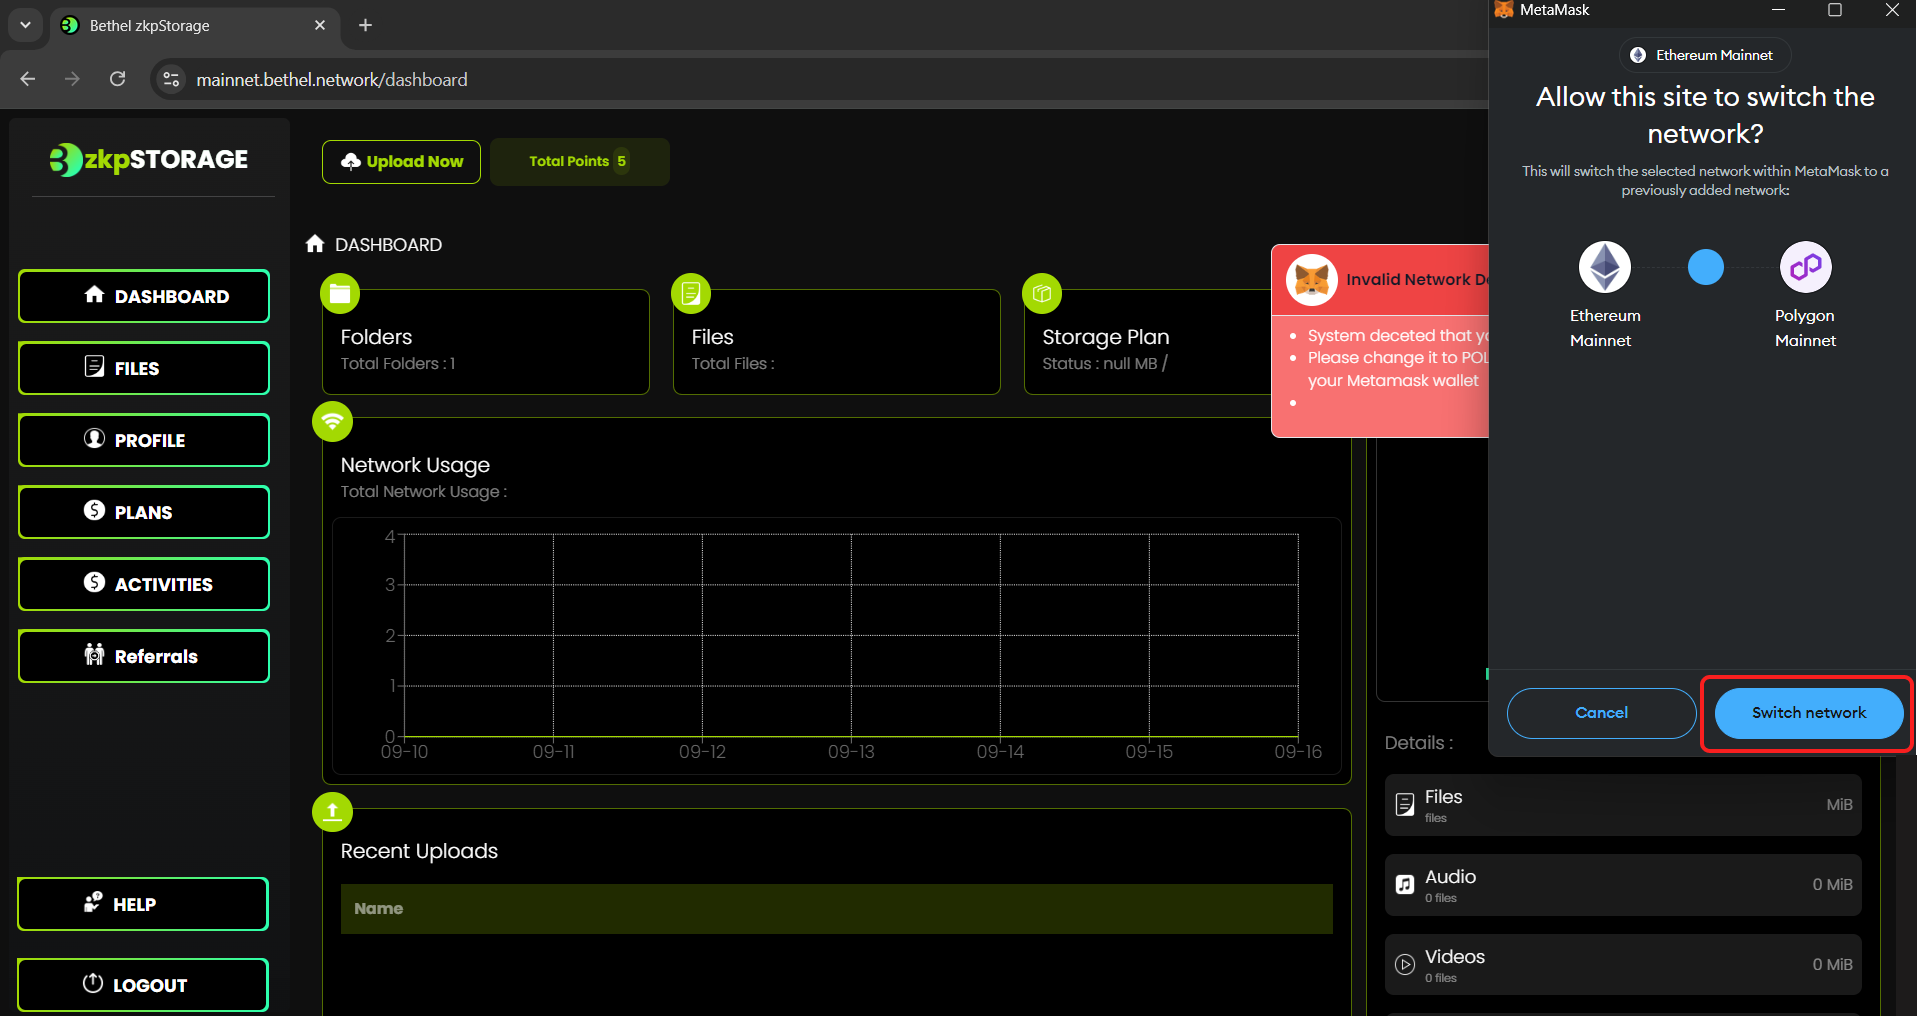
• If you haven't install Polygon Mainnet in your Metamask it will show an error message saying to add it.


Step 11:
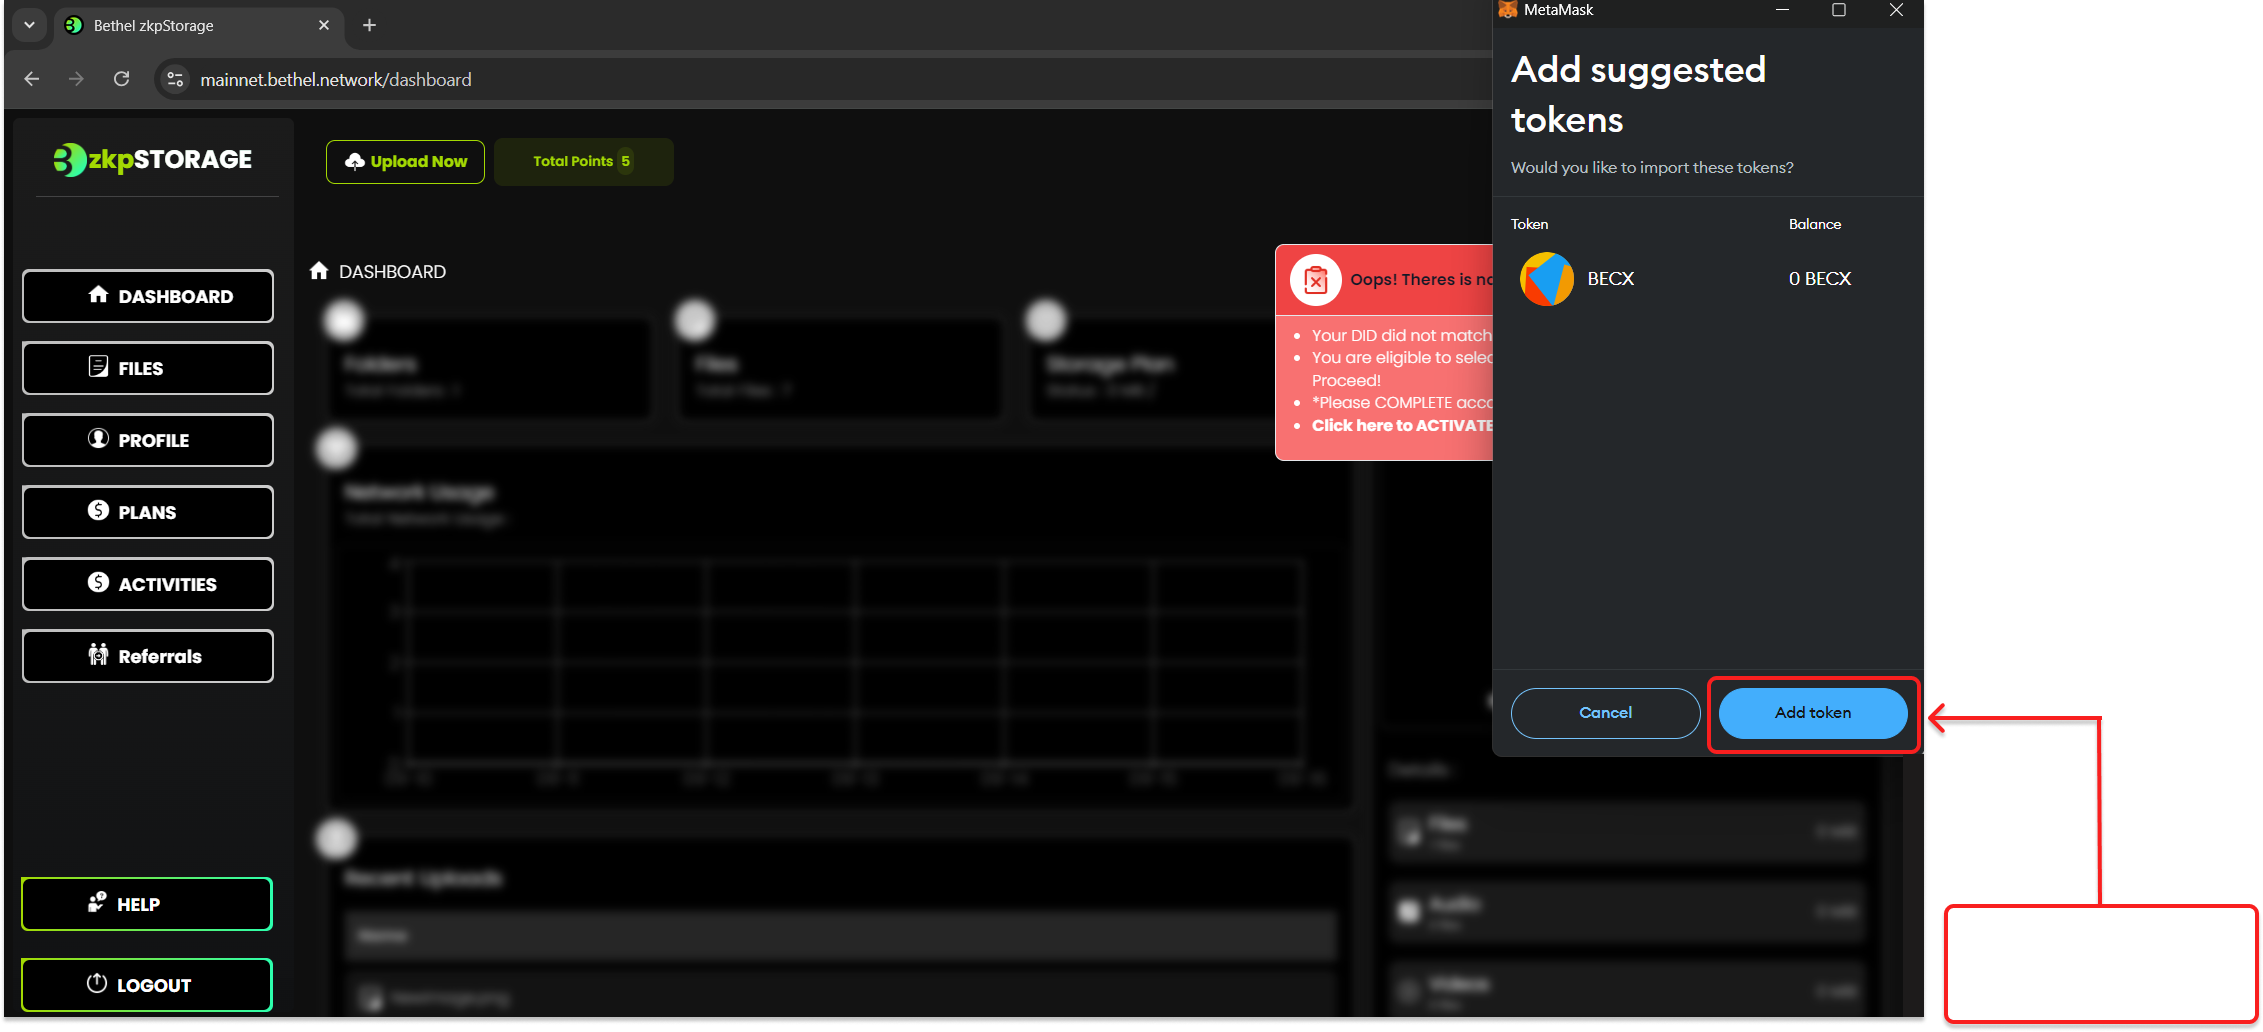
• Now you'll be suggested to add BECX tokens. Click it.

Step 12:
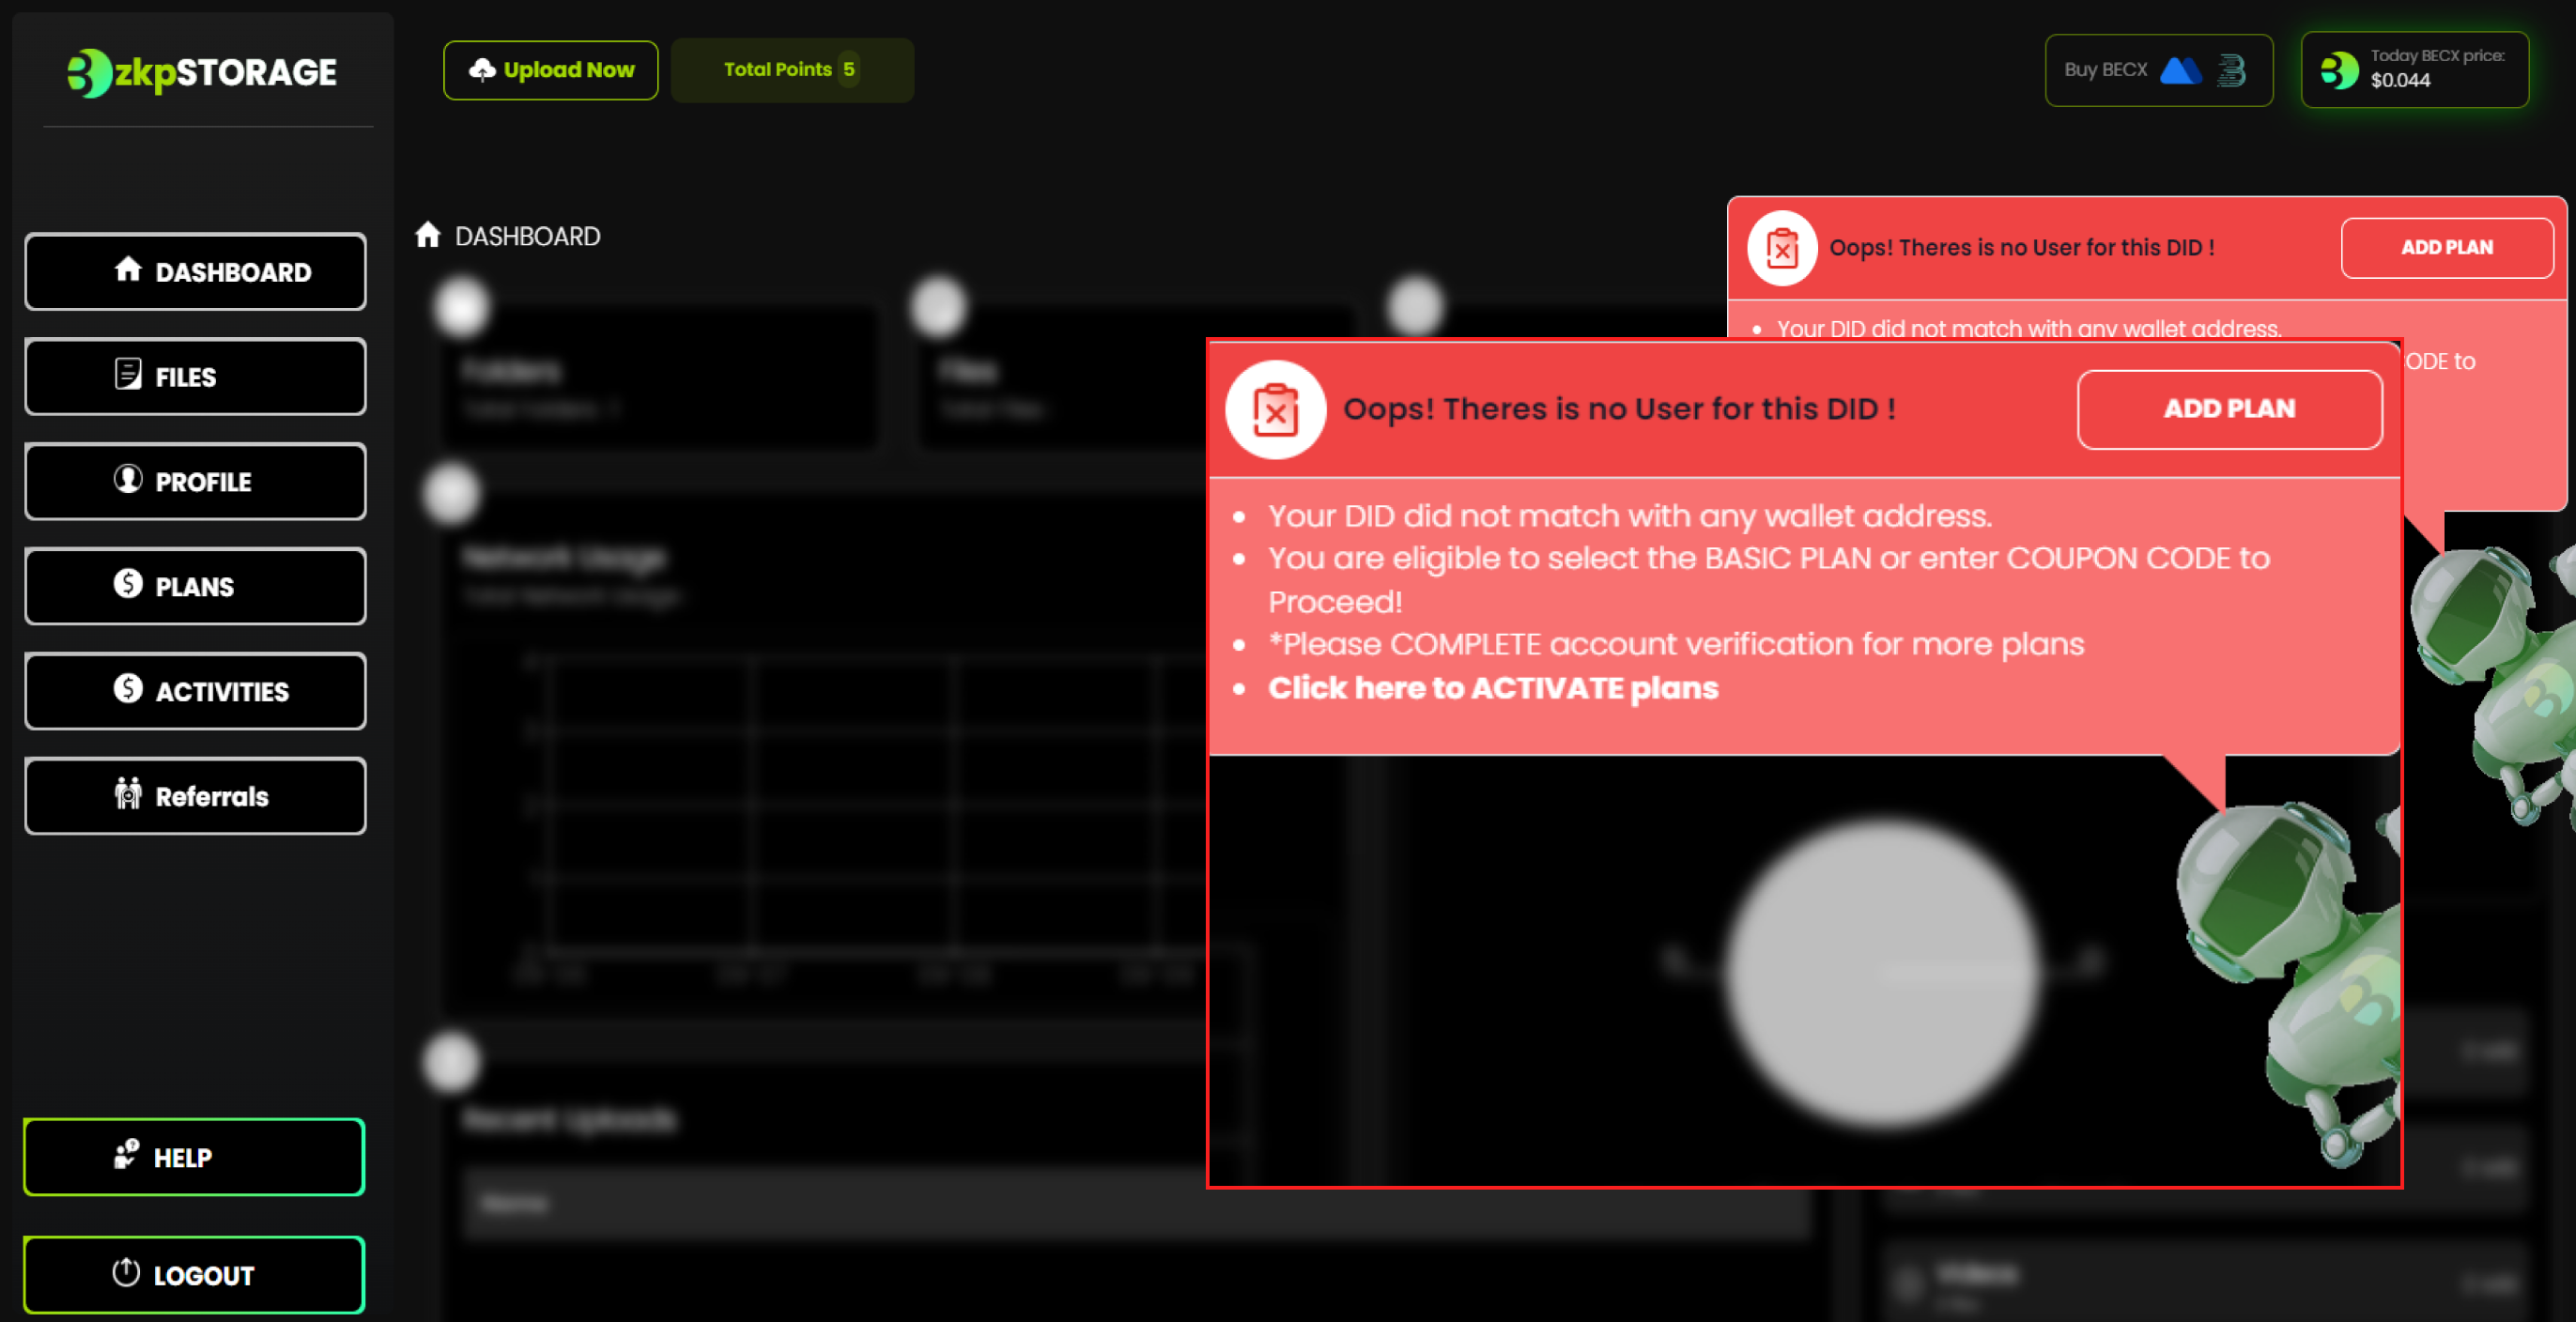
• Next, you will be asked to add a plan.Click "Add Plan"

Step 13:
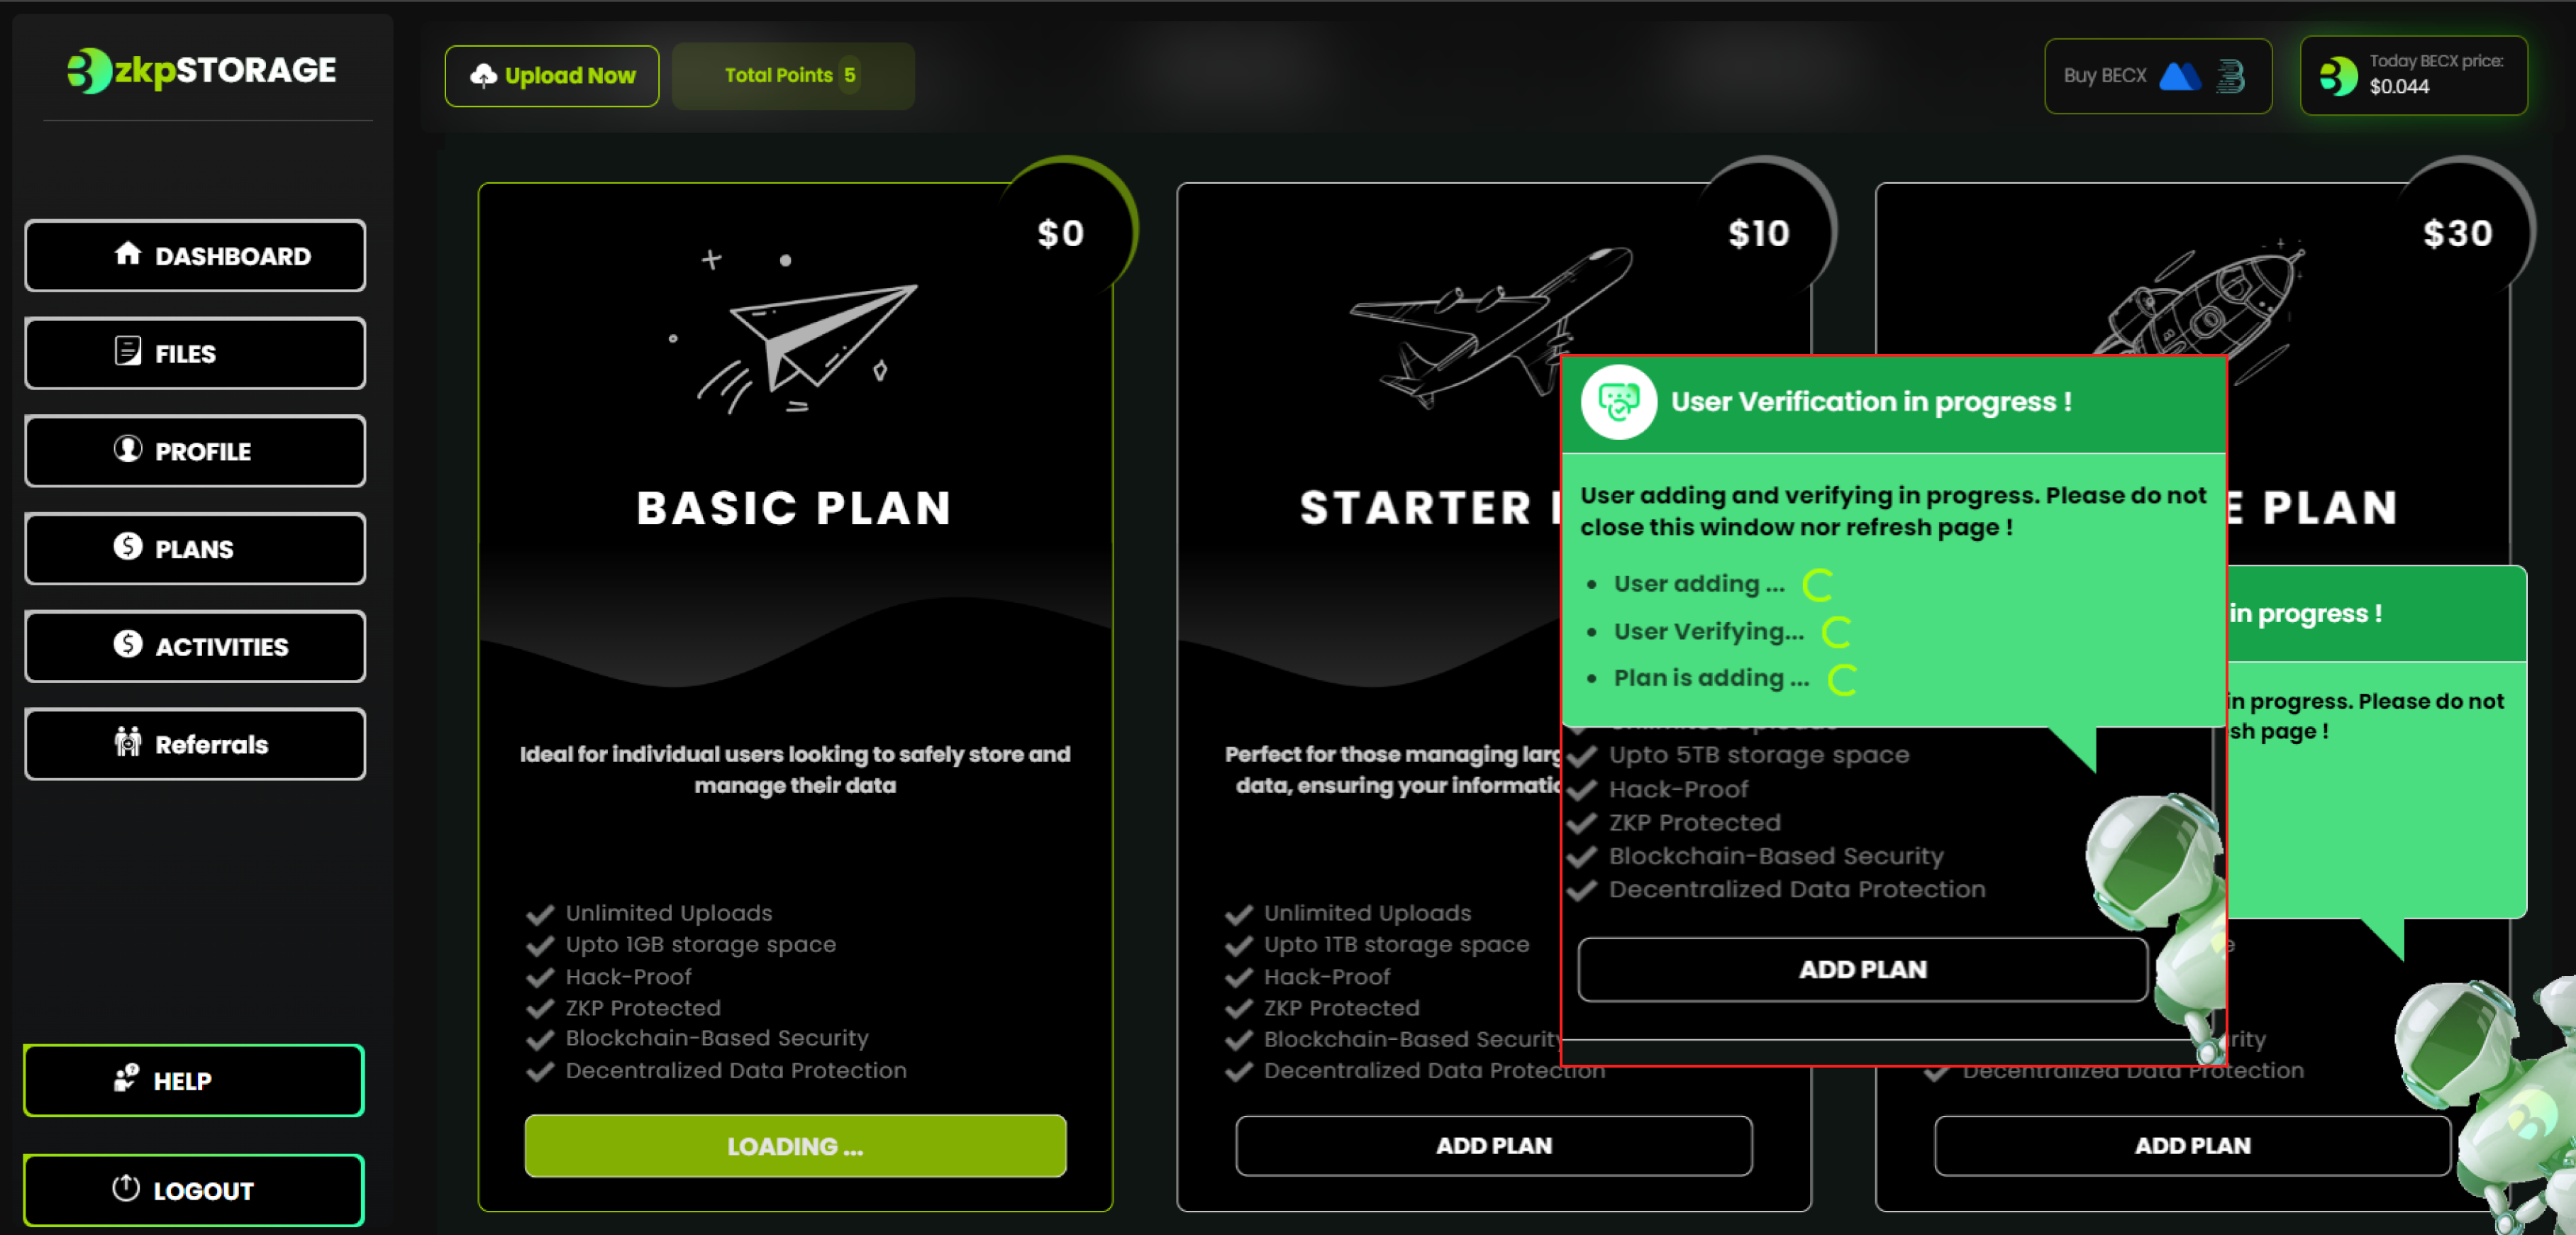
• Activate "Basic Plan"

Step 11:
04. Uploading Files into Bethel zkpStorage
Step 1:

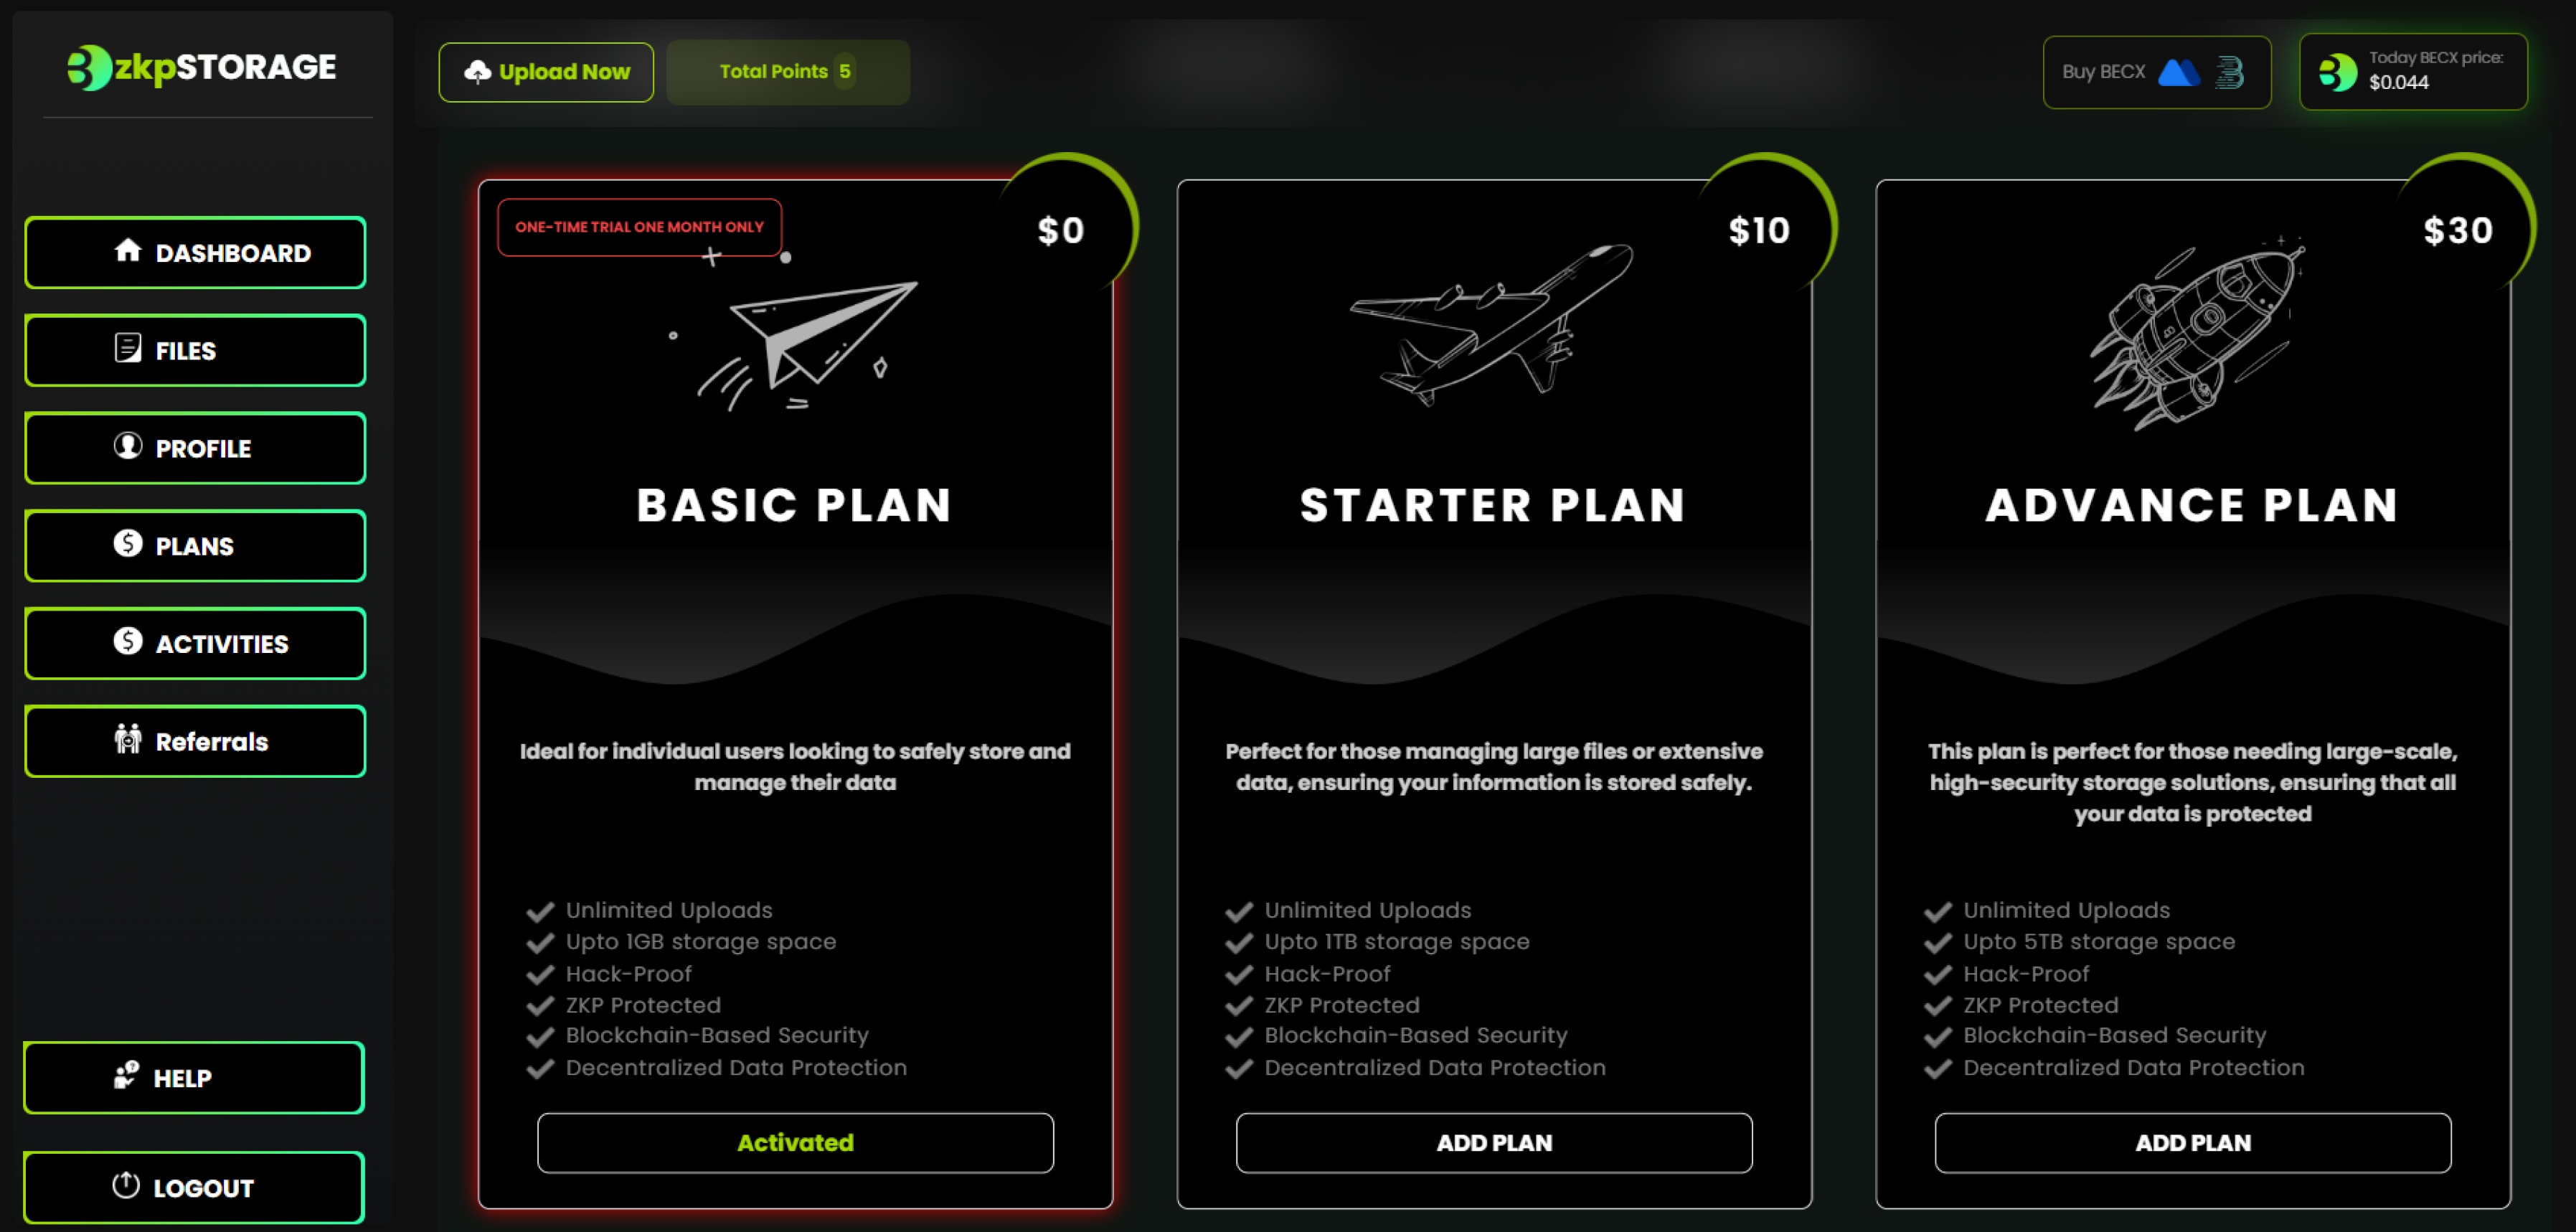
• Once the Basic Plan is activated your plan should look like this

04. Uploading Files into Bethel zkpStorage
Step 1:
• Click "FILES"

Step 2:

• Click "Select Files" and you can select files from your computer.
( If you want, you can select more than one files )

Step 3:

• Then click "Upload".

Step 4:

• The selected file will begin to upload to Blockchain.

Step 5:


05. Download Files from Bethel zkpStorage
Step 1:
Step 2:

• At the end of these steps, you can see files which you uploaded.

• In additionally, If you have uploaded multiple files you can see this kind of window.

05. Download Files from Bethel zkpStorage
Step 1:
• Go to "FILES". Then you will see the Files you uploaded.
Step 2:
• Click "Verify".

Step 3:

• Once you click "Verify" you can see the QR code.And wait until the issue claim is loaded.

Step 4:

• Then scan this QR using the PolygonID app.

Step 5:

• After scanning you can see the "Verify" button has disappeared from Bethel Site. Now click the "Download".

Step 6:

• Scan this QR using Polygon ID app.

Step 7:


• After Scanning click "Verify".


Step 8:

• Once proof is verified You can see the "File Credentials" on the "Credential" tab on your PolygonID app.

Step 9:

• After that scanning the QR code which was displayed on the screen using PolygonID app. It will start to download your file.

Step 10:


06. Share Files through Bethel zkpStorage
Step 1:

• Here you can see the file that you downloaded.

• In additionally, If you have uploaded multiple files you can we called it Batch File. When you click on the Batch File you can see all files that you uploaded. If you want to download you can follow the above steps. (You can't download whole files together).

06. Share Files through Bethel zkpStorage
Step 1:
• Click the three-dotted icon of the file that you want to share.

Step 2:

• Now paste the reciever's DID on the text field and click submit.

• Now check the SHARED FILES section in the receiver's dashboard. You can see a shared file that you shared.


