Bethel ZKP Storage Login
These are the steps you need to follow for the login to the Bethel site.
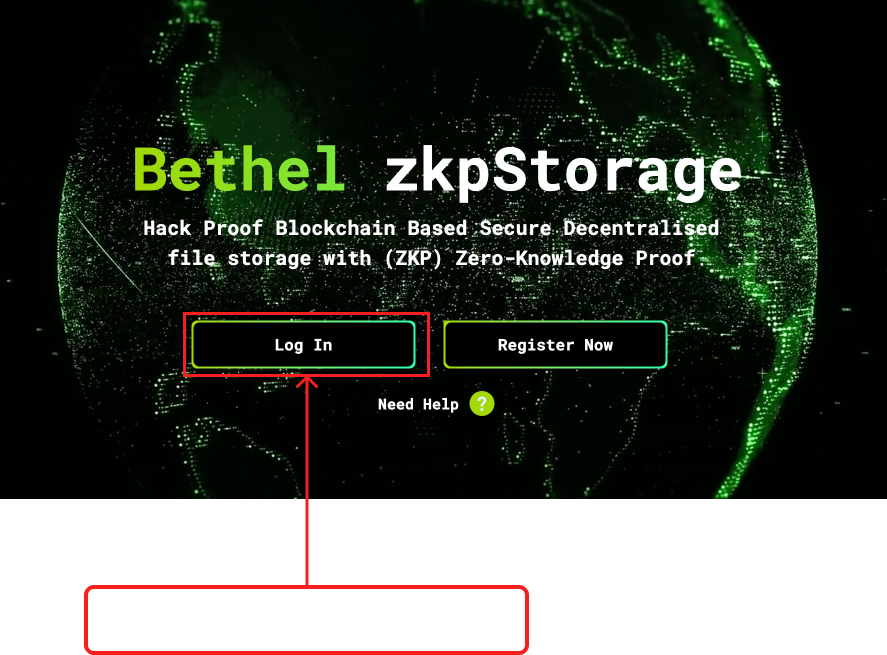
Step 1:
Step 2:
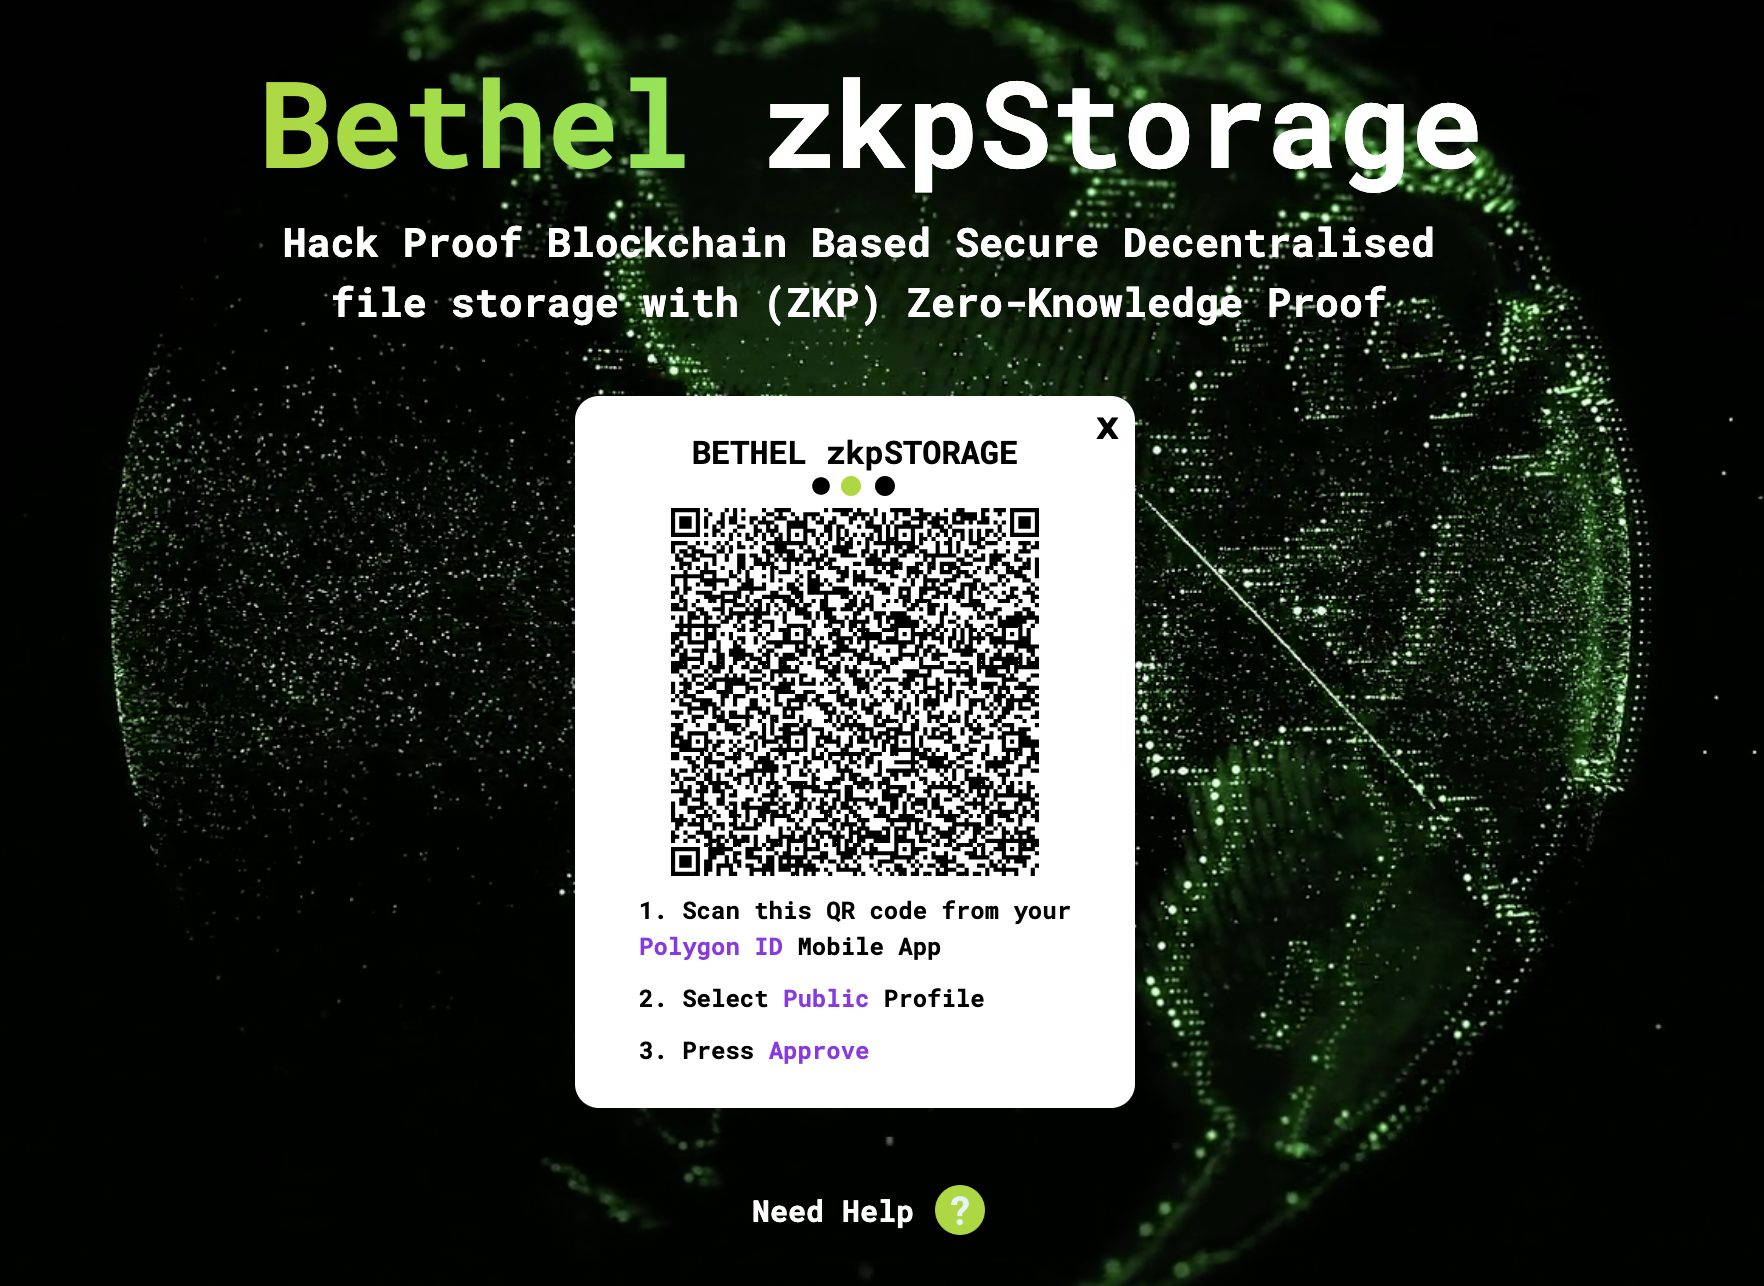
• Again scan this QR using the Polygon ID app.
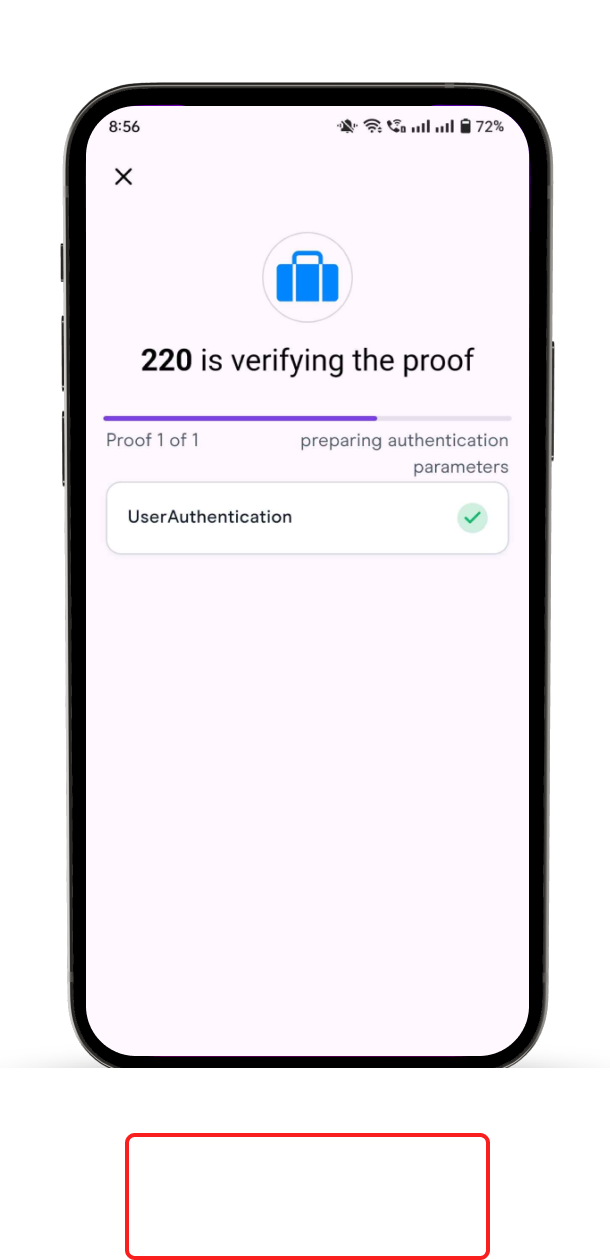
Step 3:
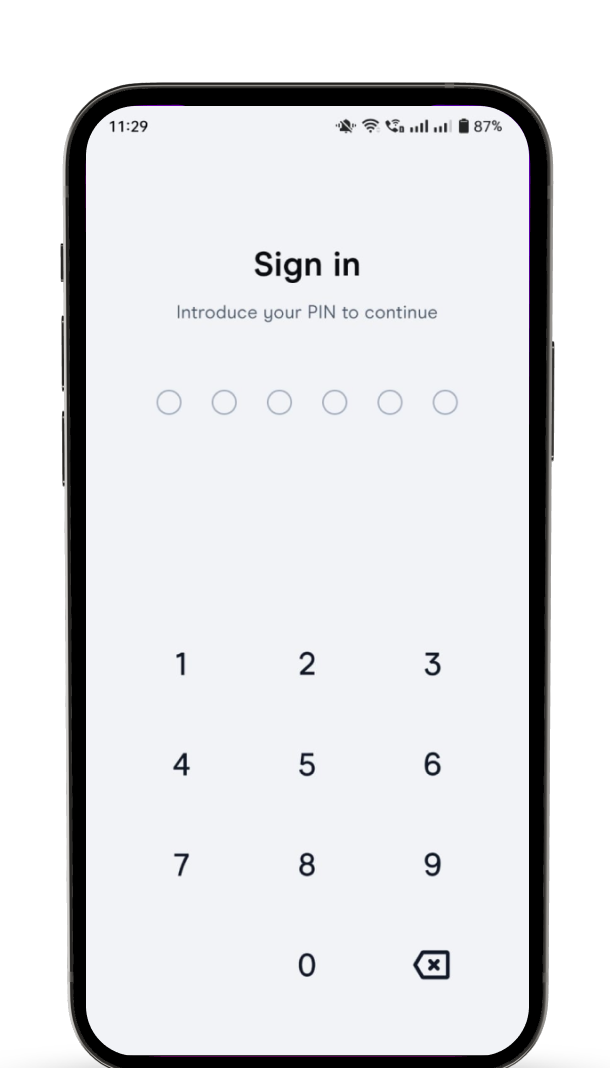
• Now Redirect to this window.
Step 4:

Step 5:
Step 6:
Step 7:
• If you have already installed MetaMask ignore the steps 7 & 8.
• If you want to install MetaMask manually ignore the steps from 7 to 11 and follow the steps in Creating Wallet Address.
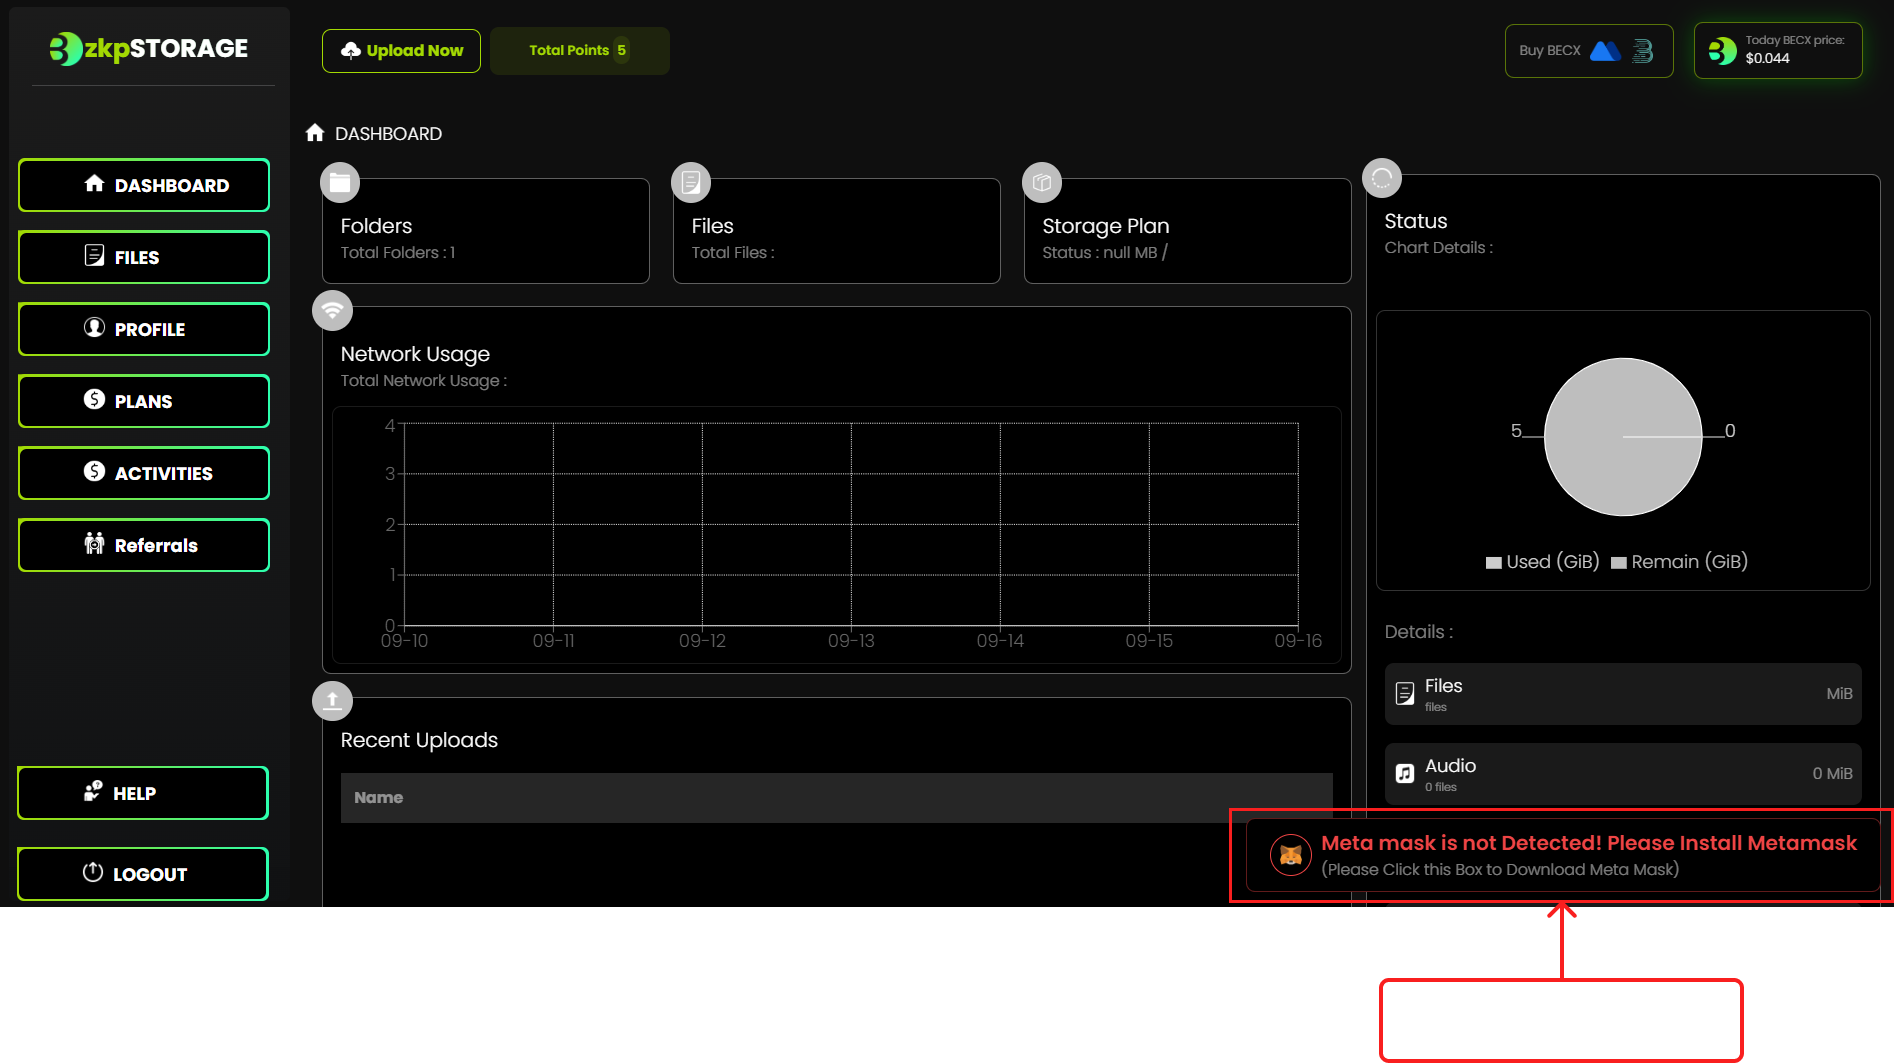
Step 7:
• Once you are logged in, the error message "Meta mask is not Detected! Please install Metamask" will be shown in the bottom of the page.
Step 8:
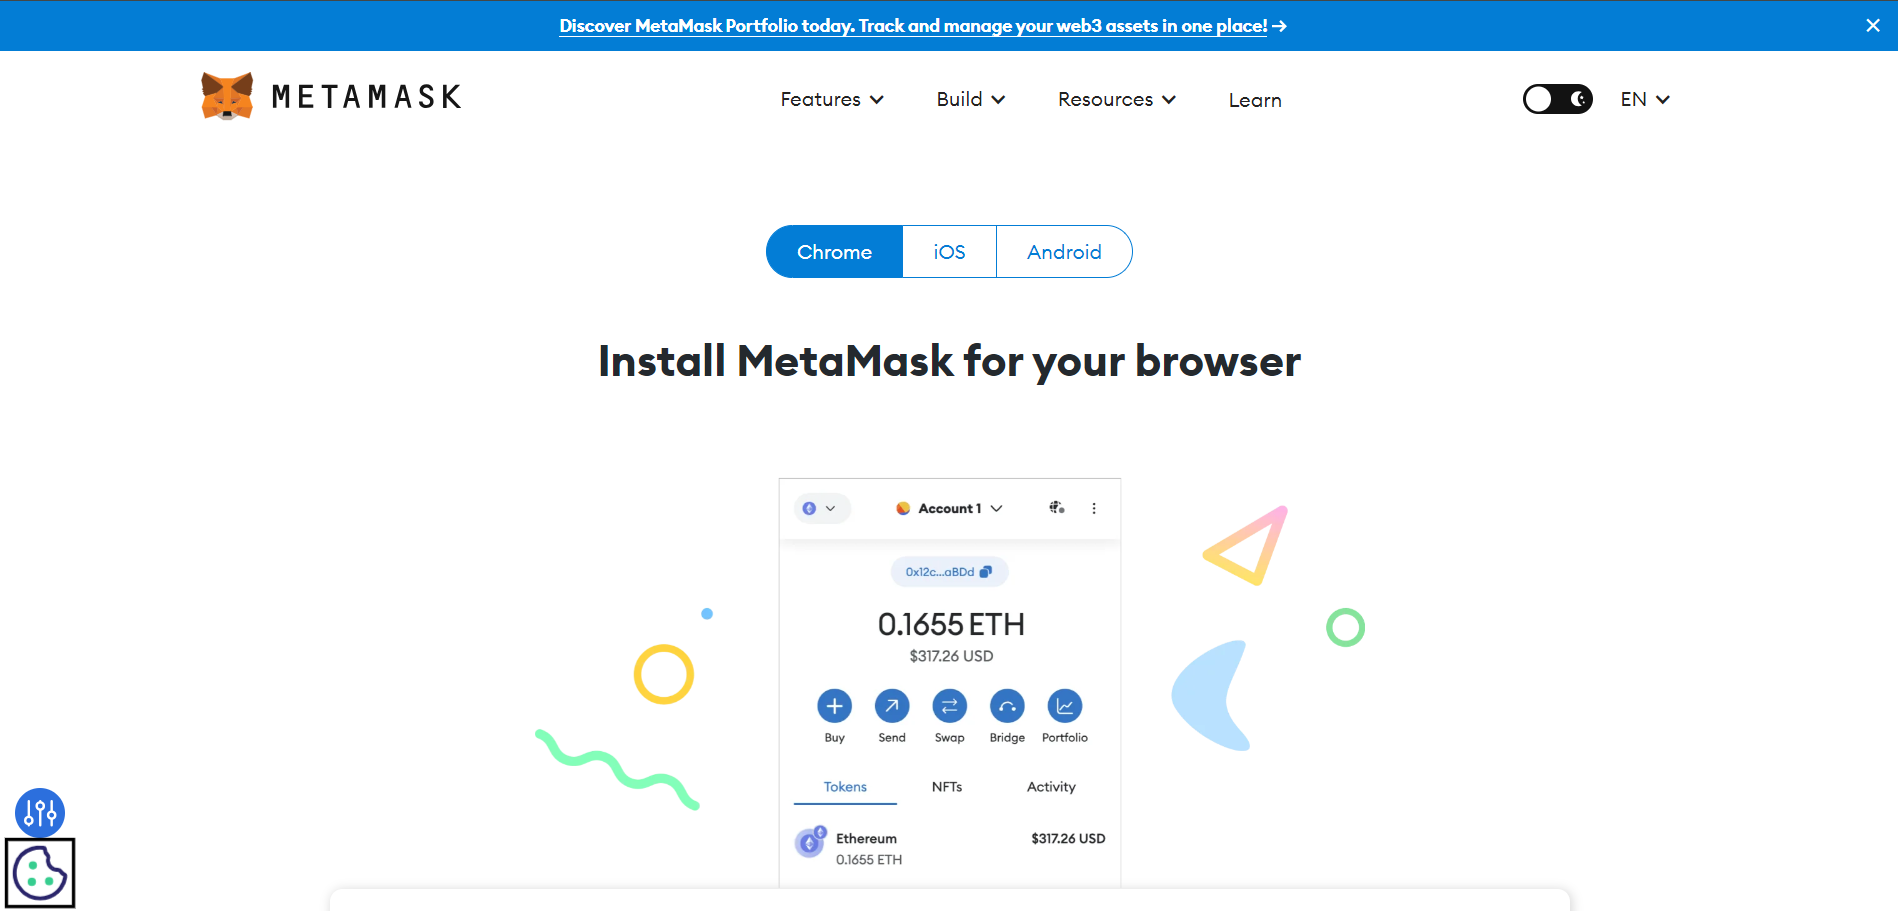
• And then you'll be redirected to the following page.
• Choose the correct extension for your computer and install it.
Step 9:
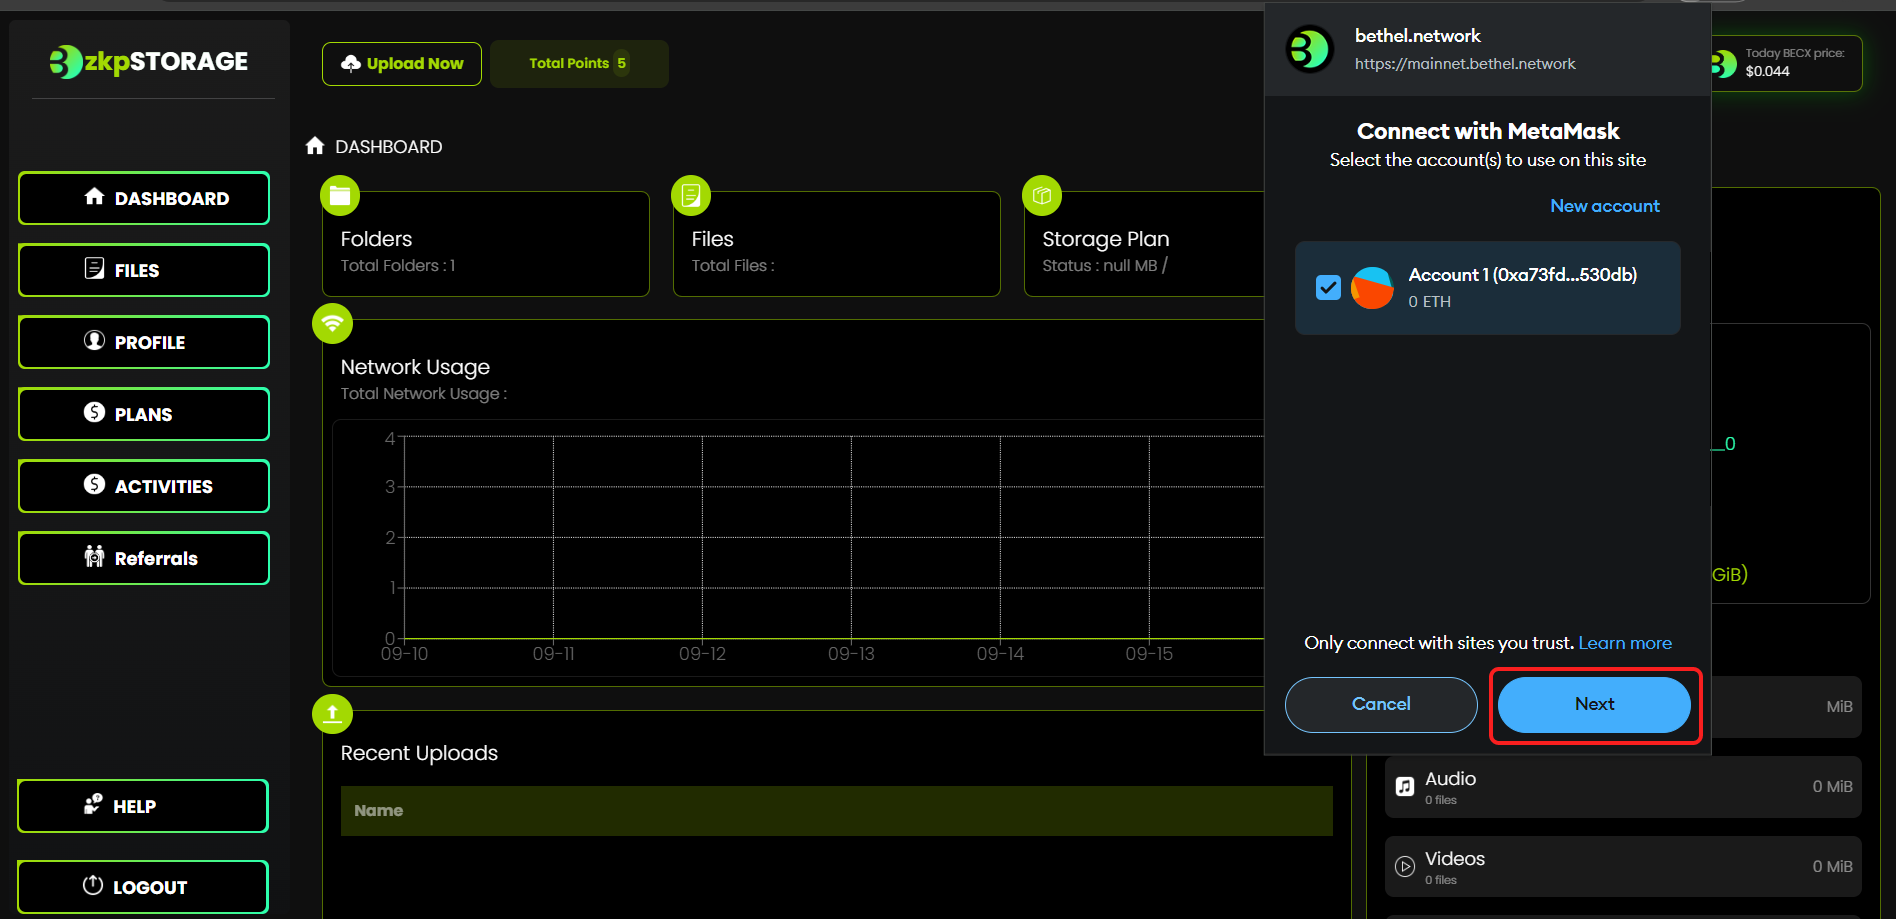
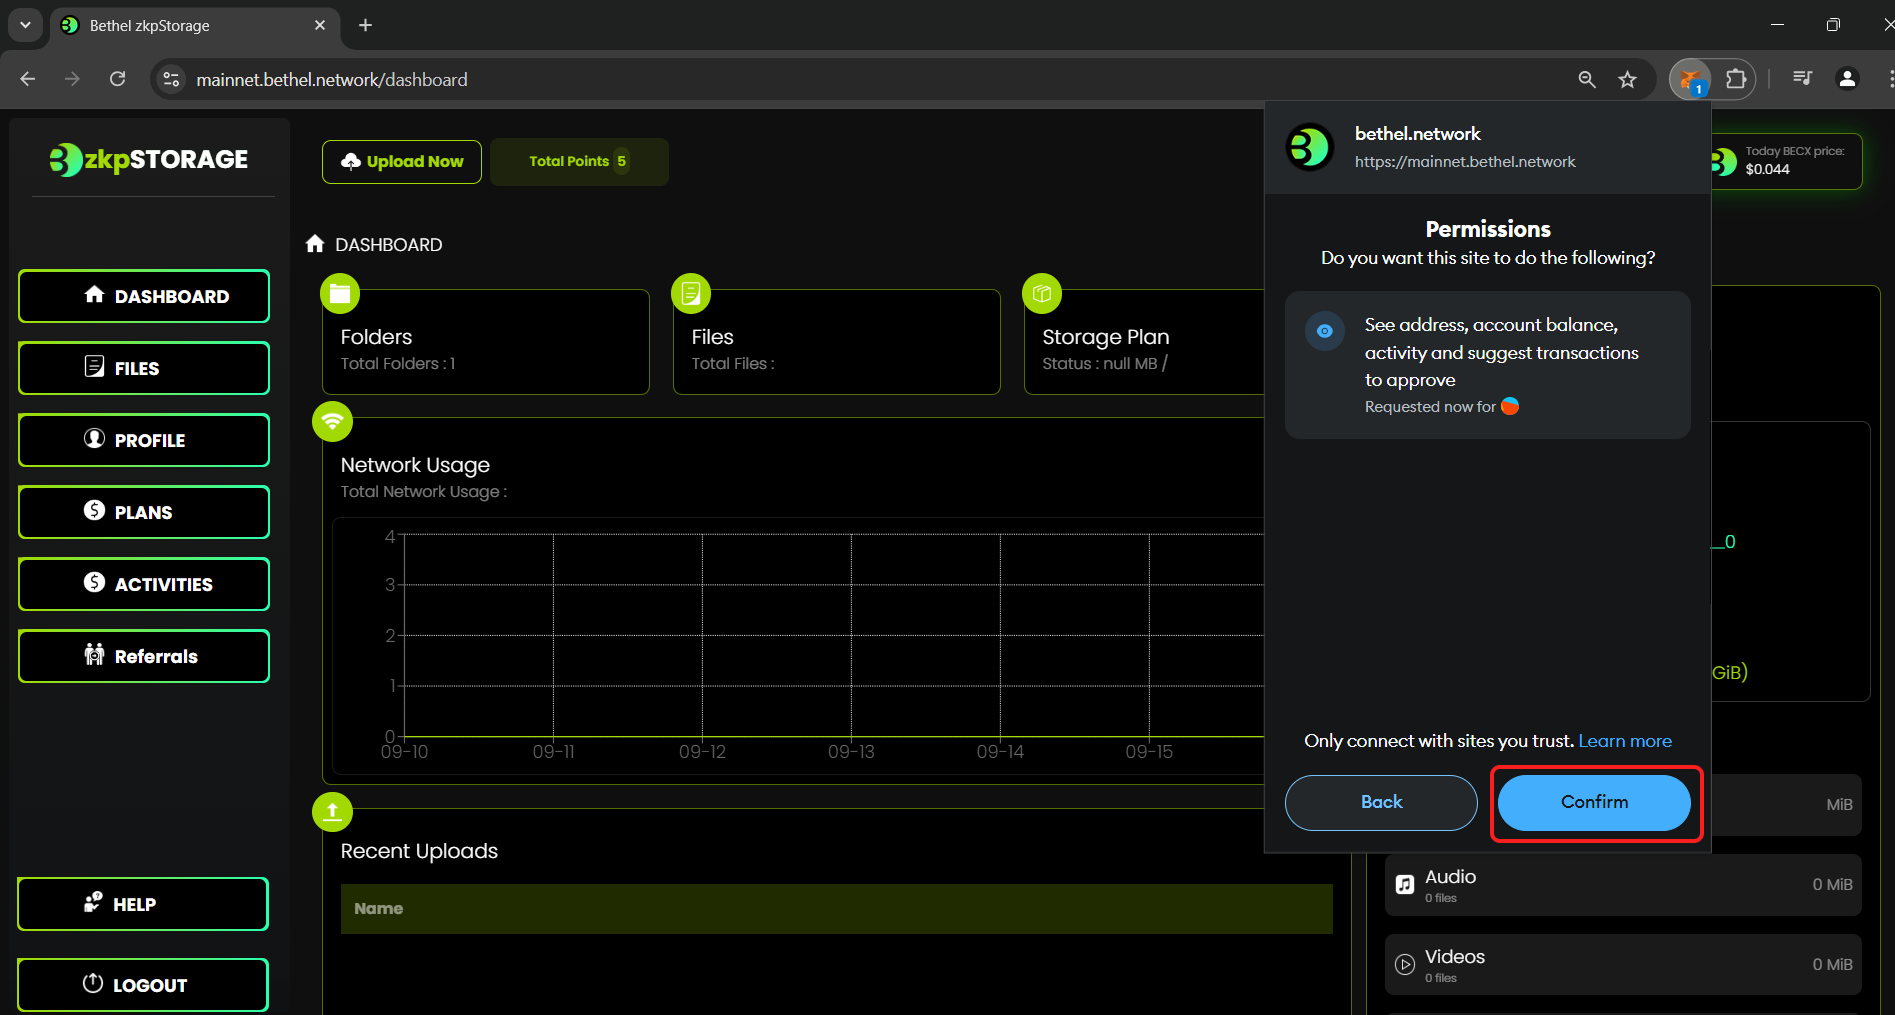
• After the installation of Metamask it will pop up a message to connect with MetaMask. Click it.
Step 10:
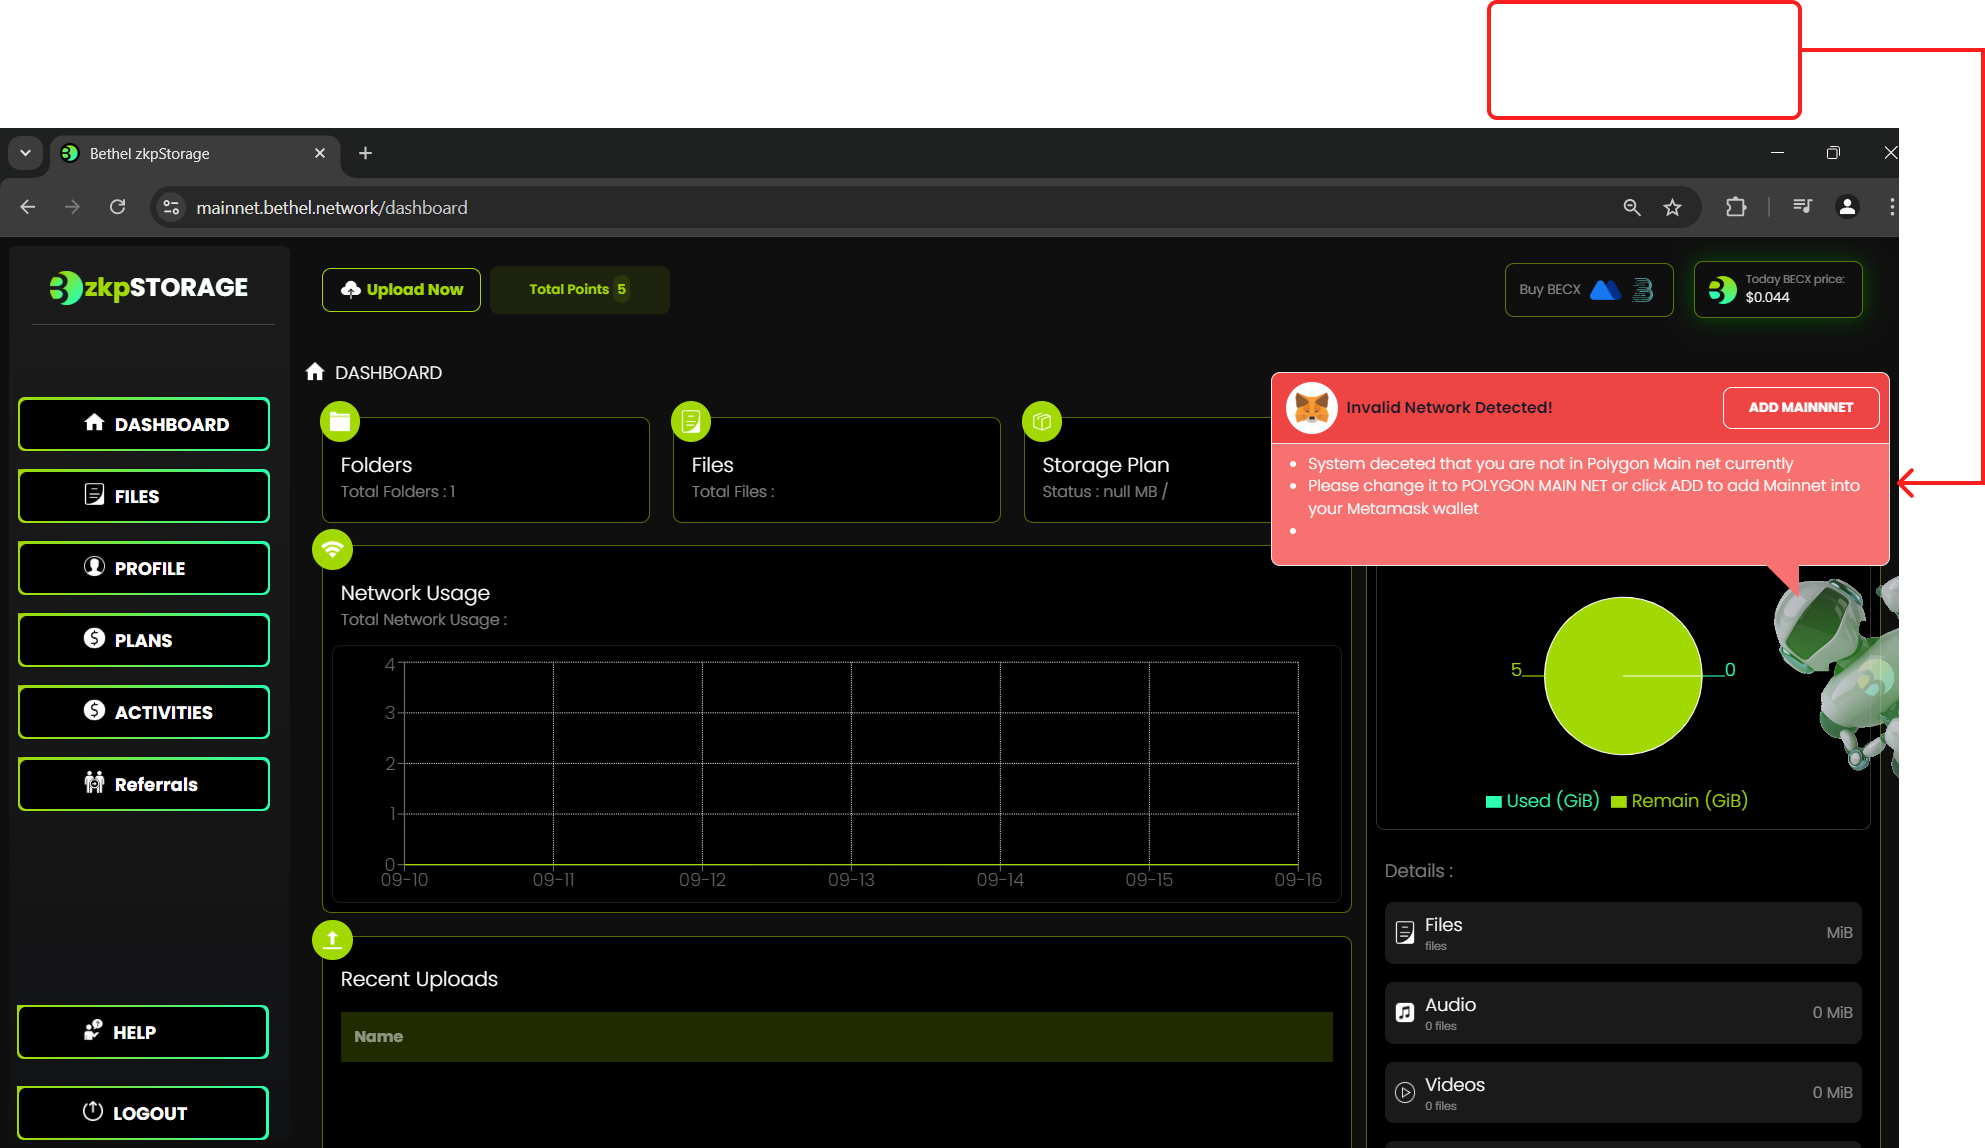
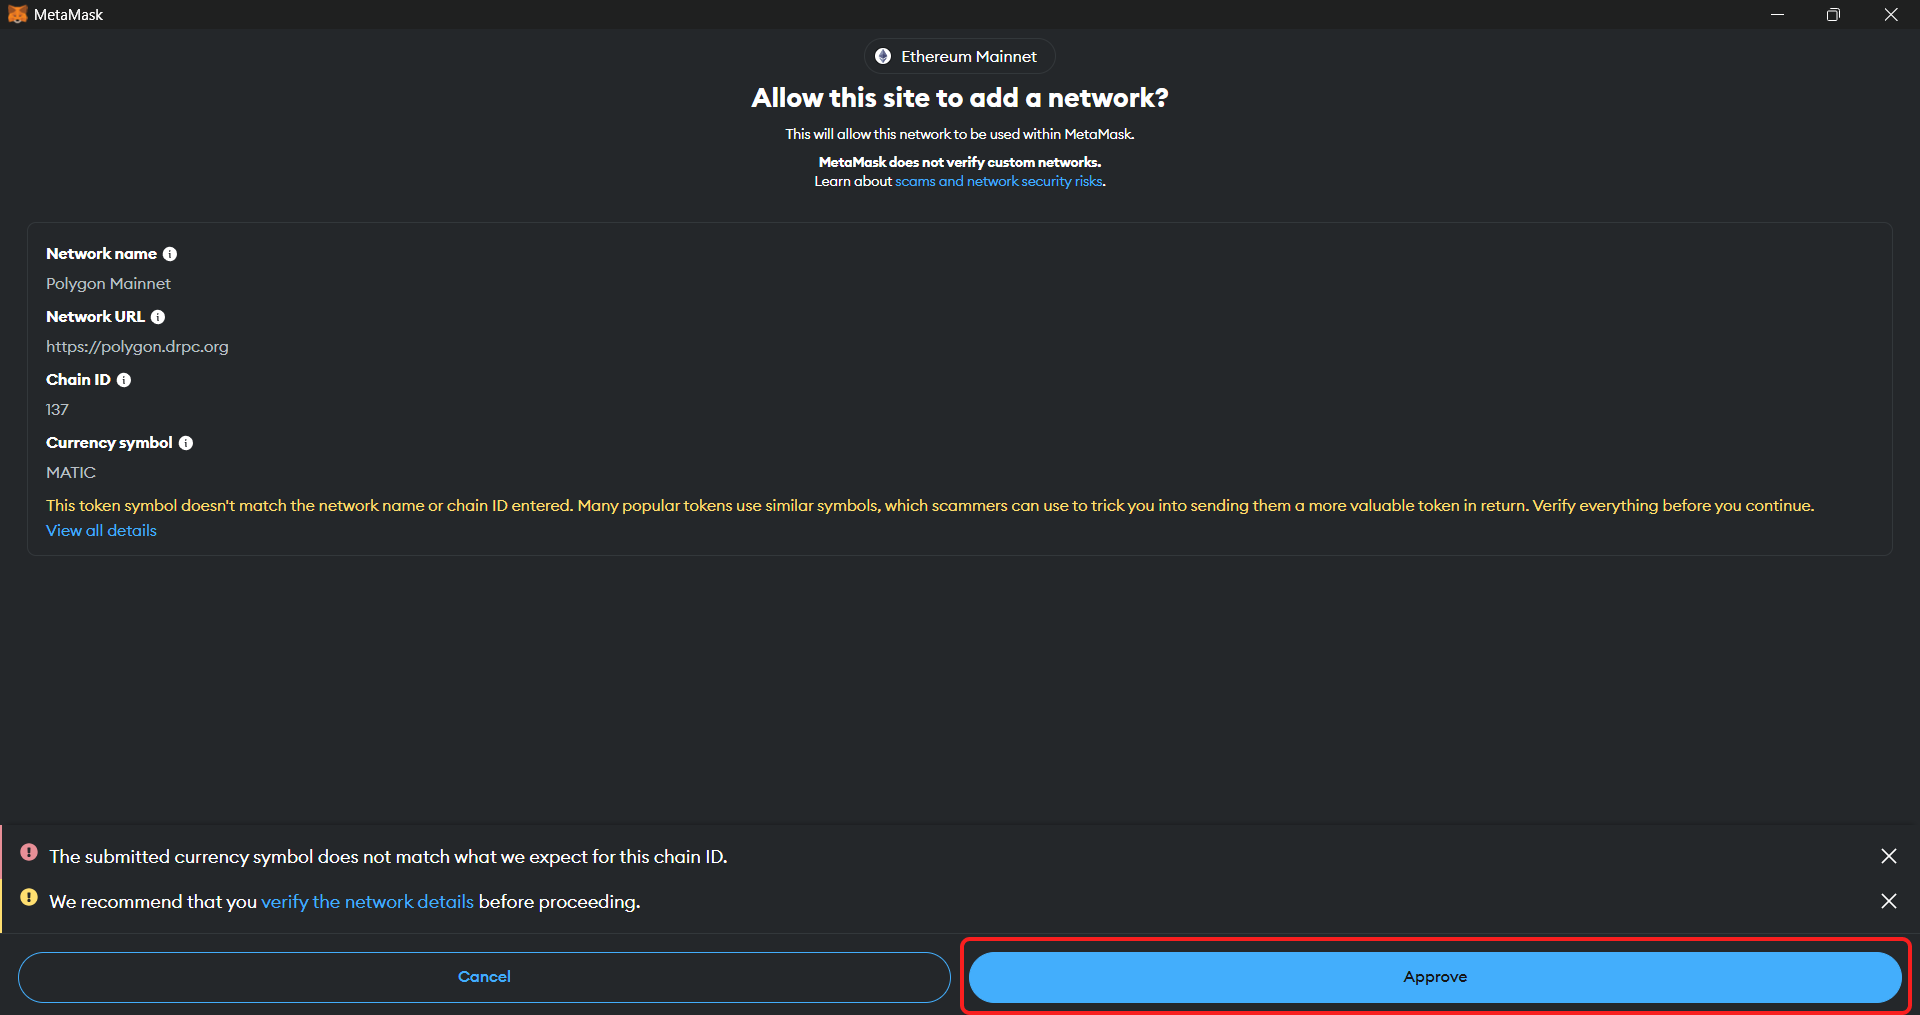
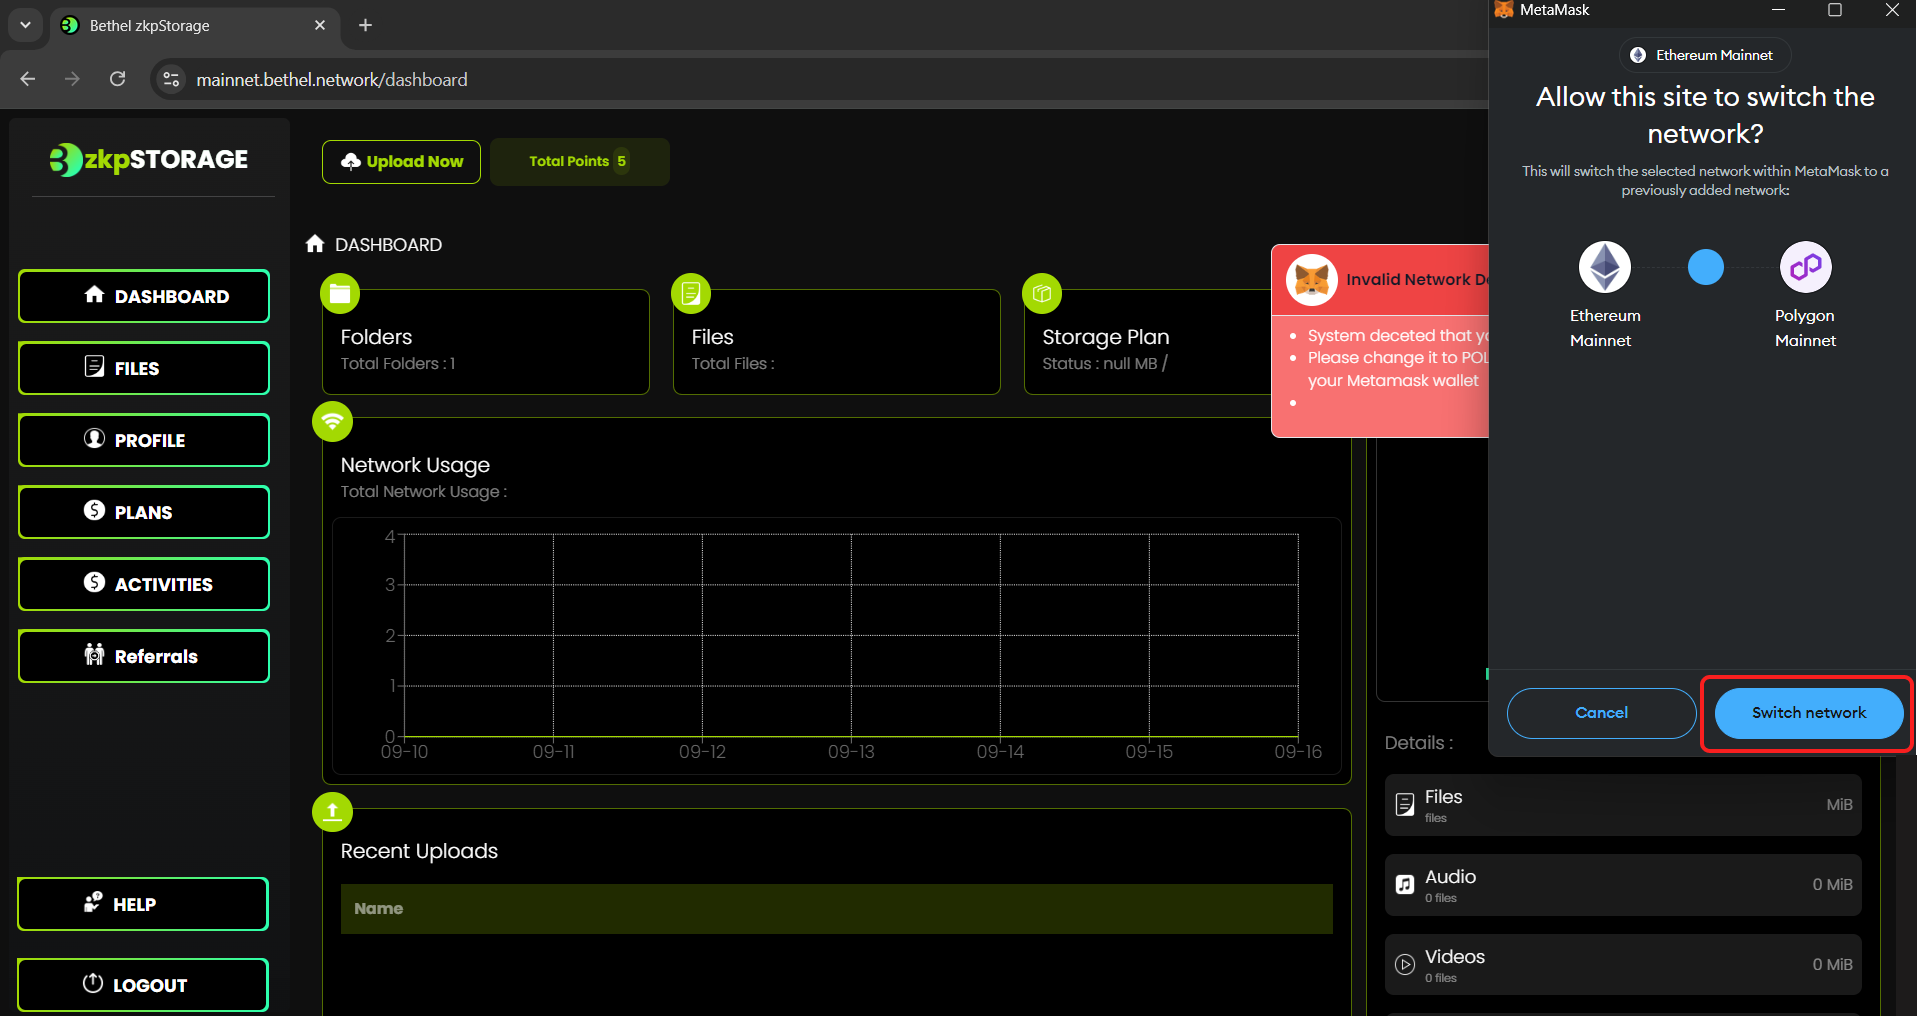
• If you haven't install Polygon Mainnet in your Metamask it will show an error message syaing to add it.
Step 11:
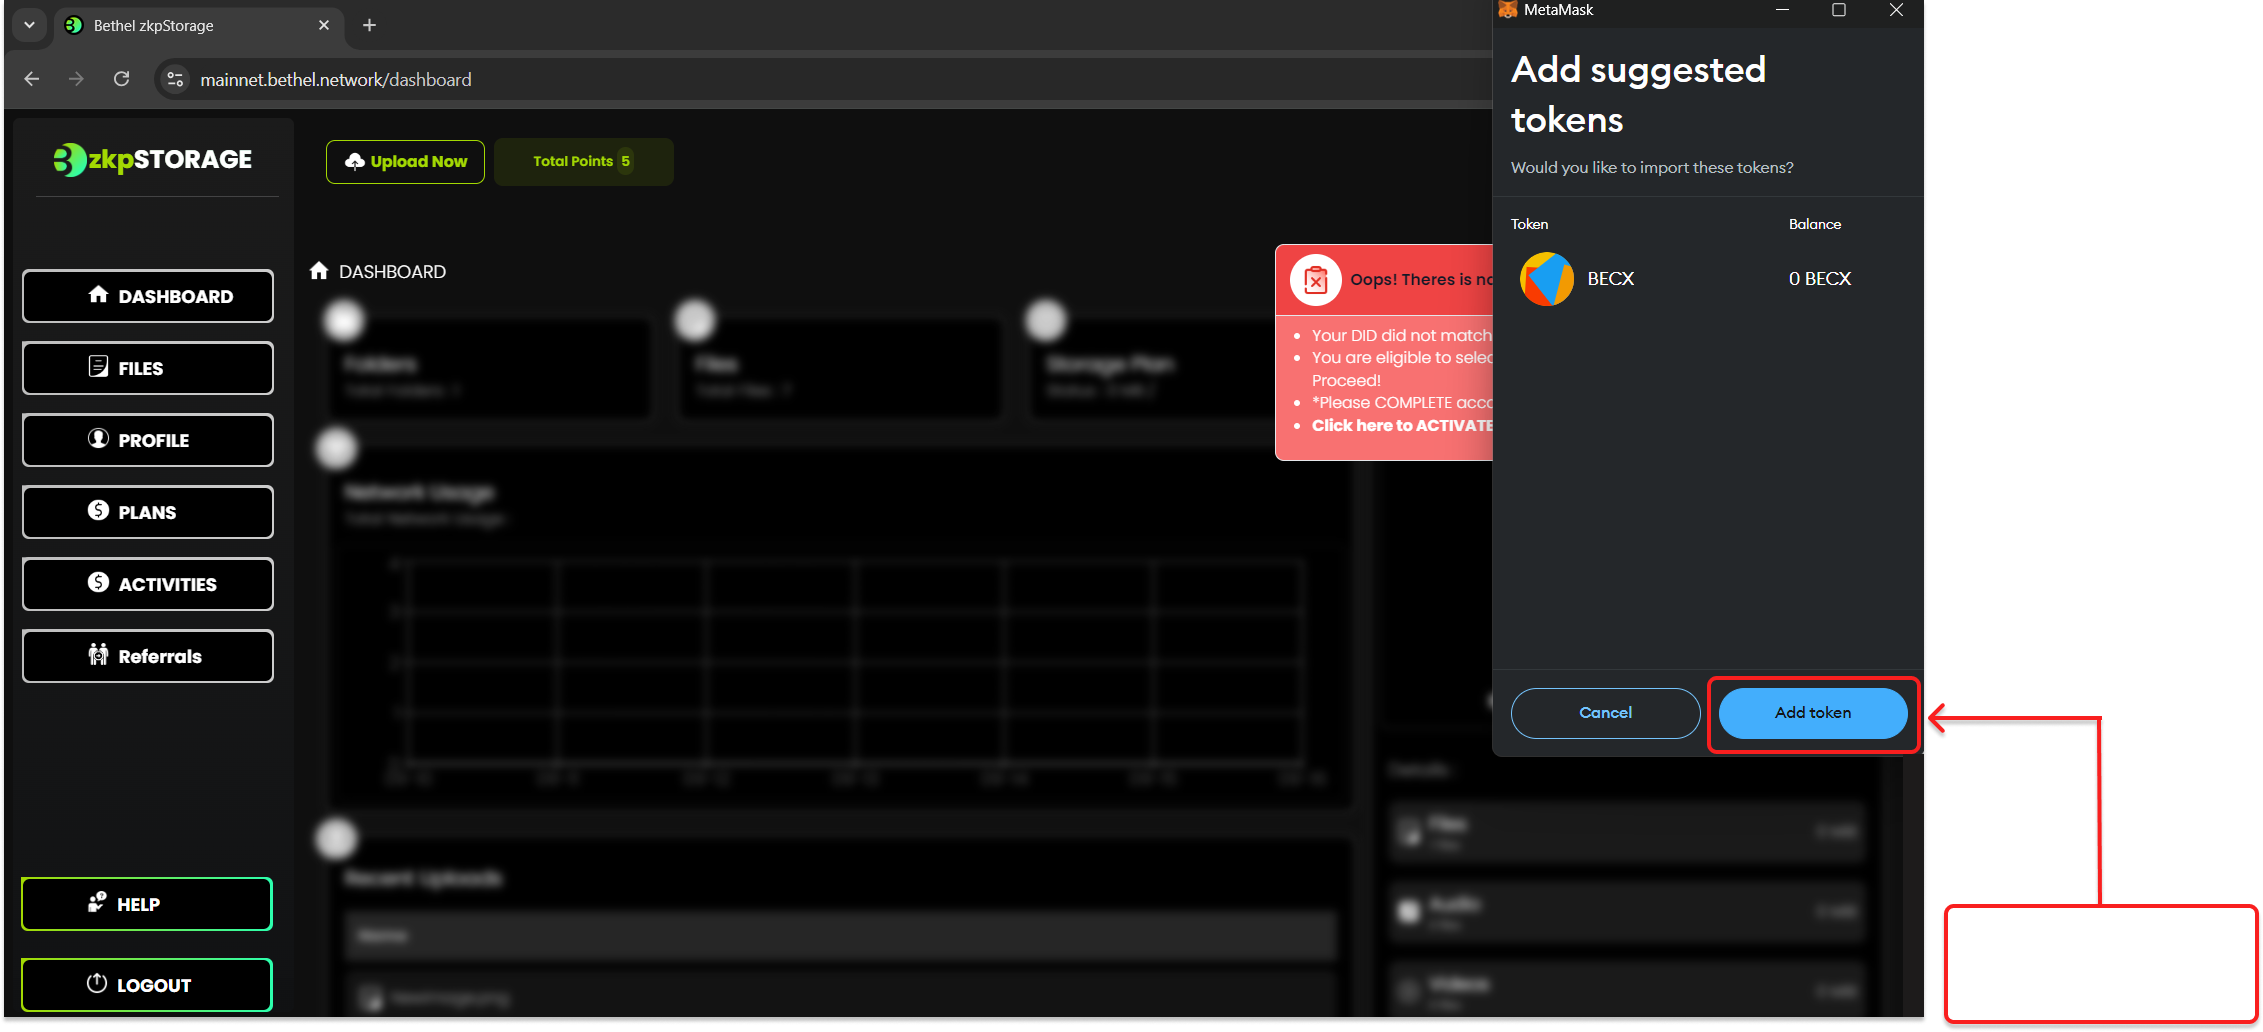
• Now you'll be suggested to add BECX tokens. Click it.
Step 12:
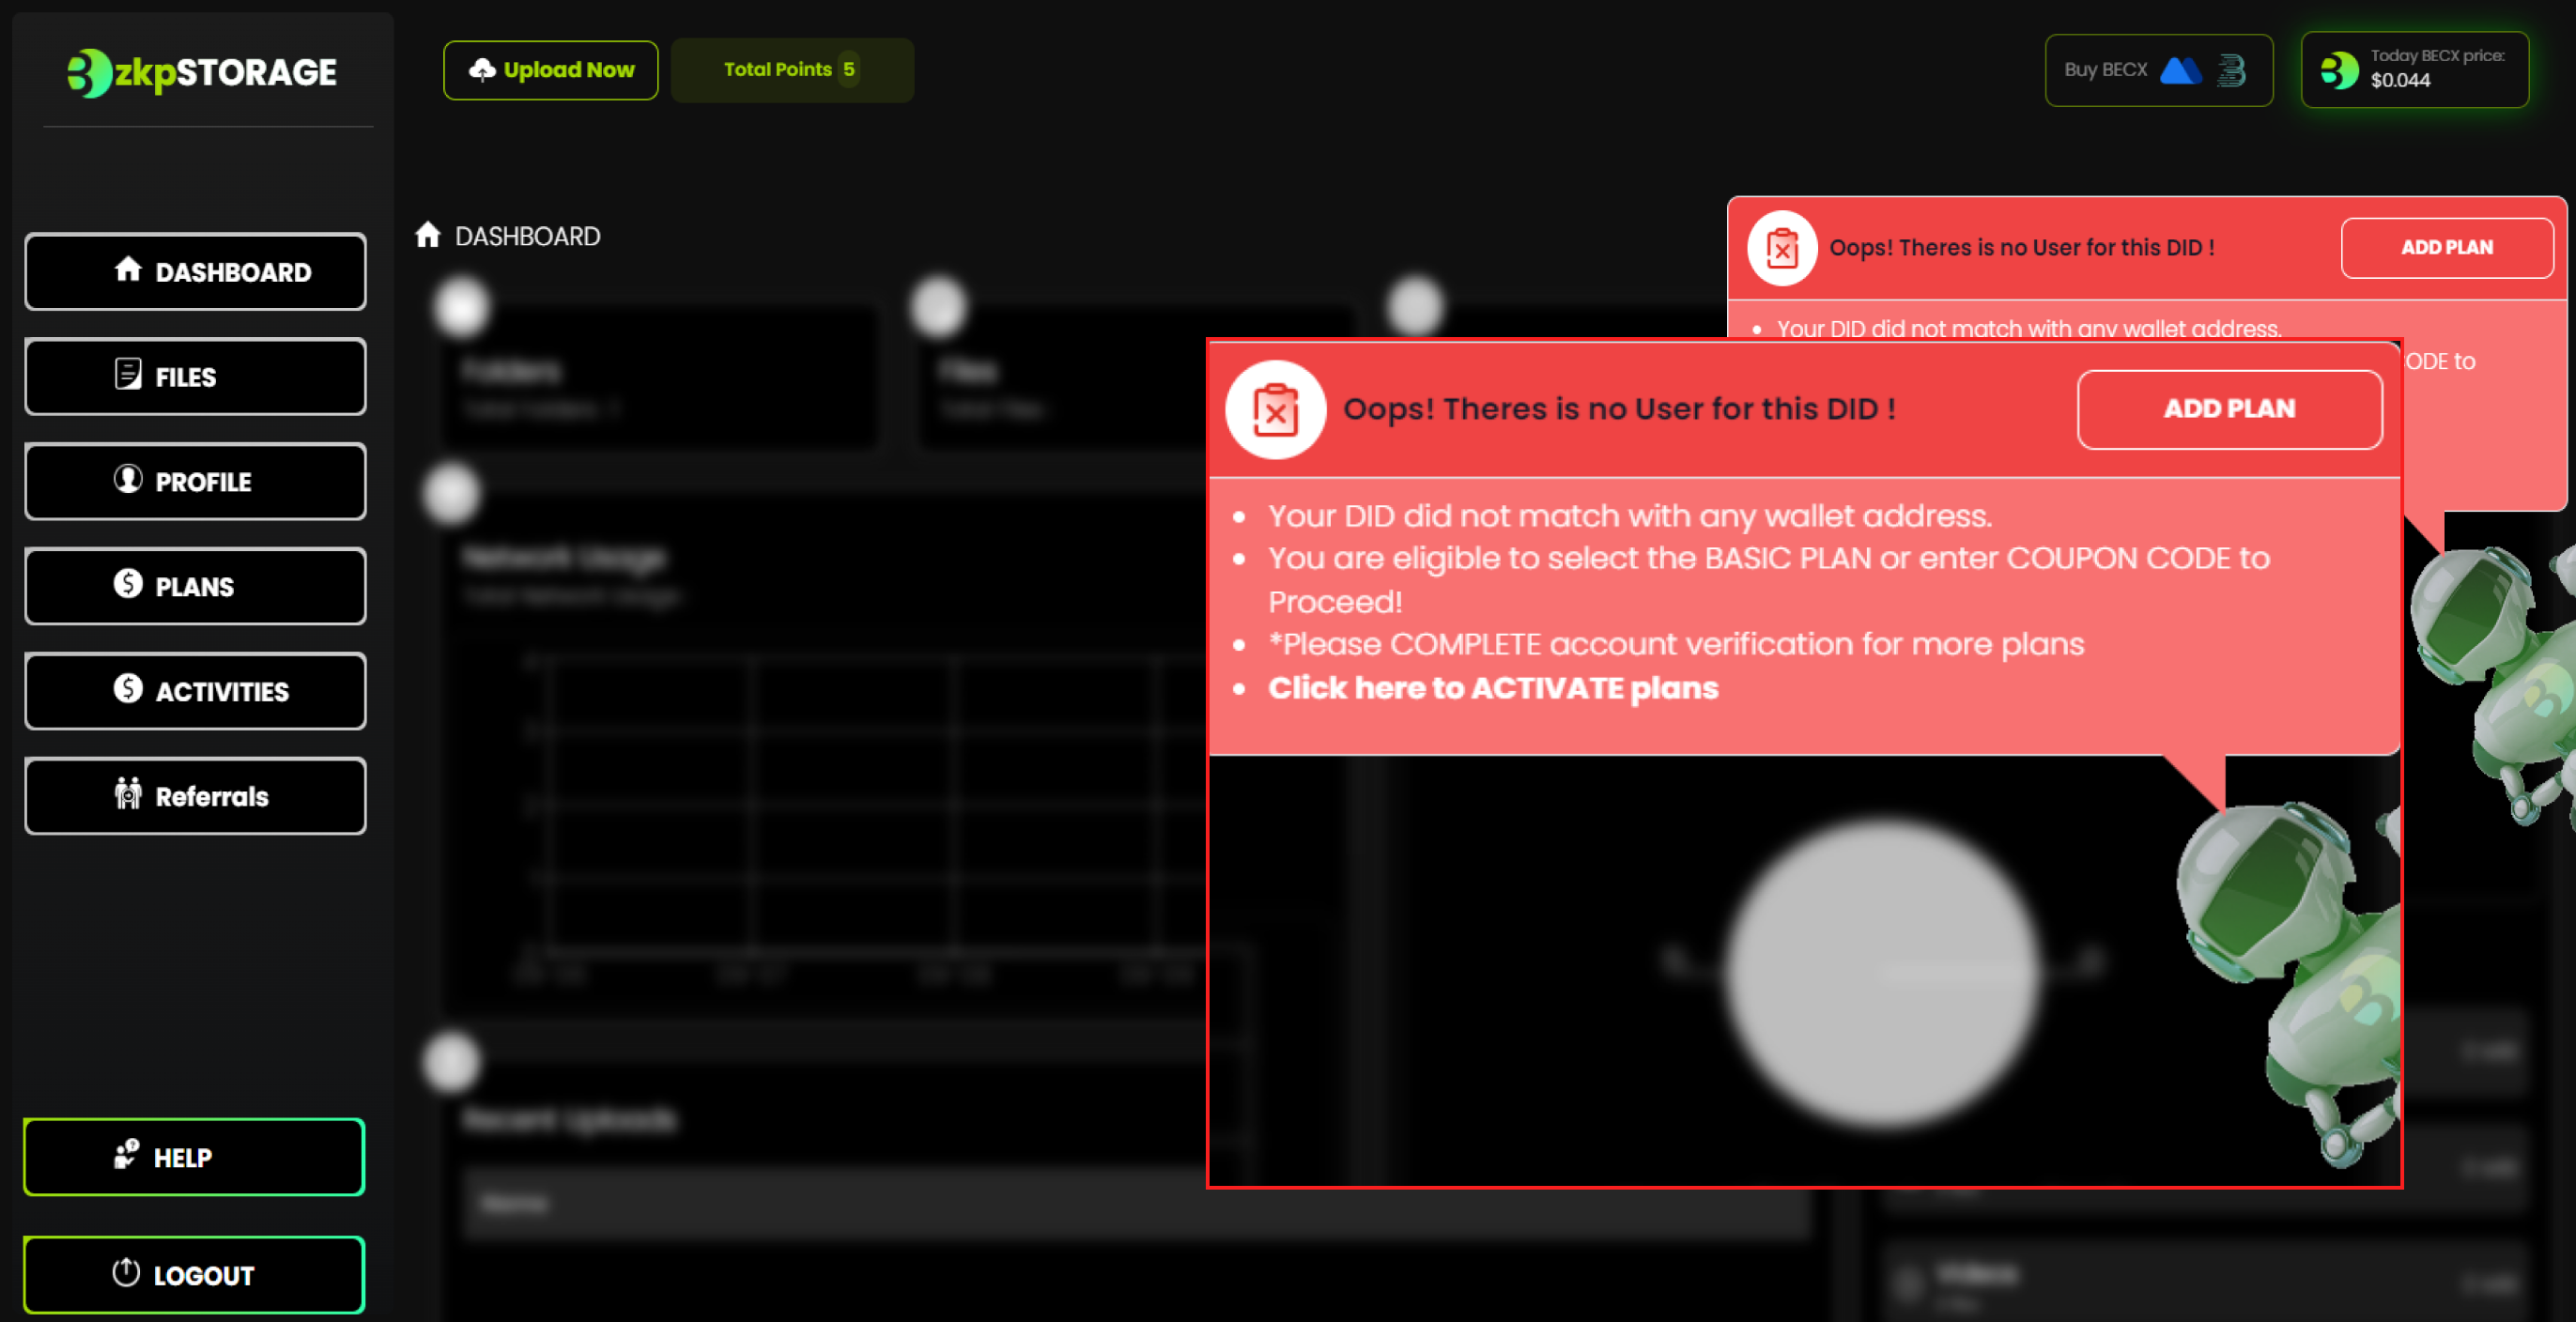
• Next, you will be asked to add a plan.Click "Add Plan"
Step 13:
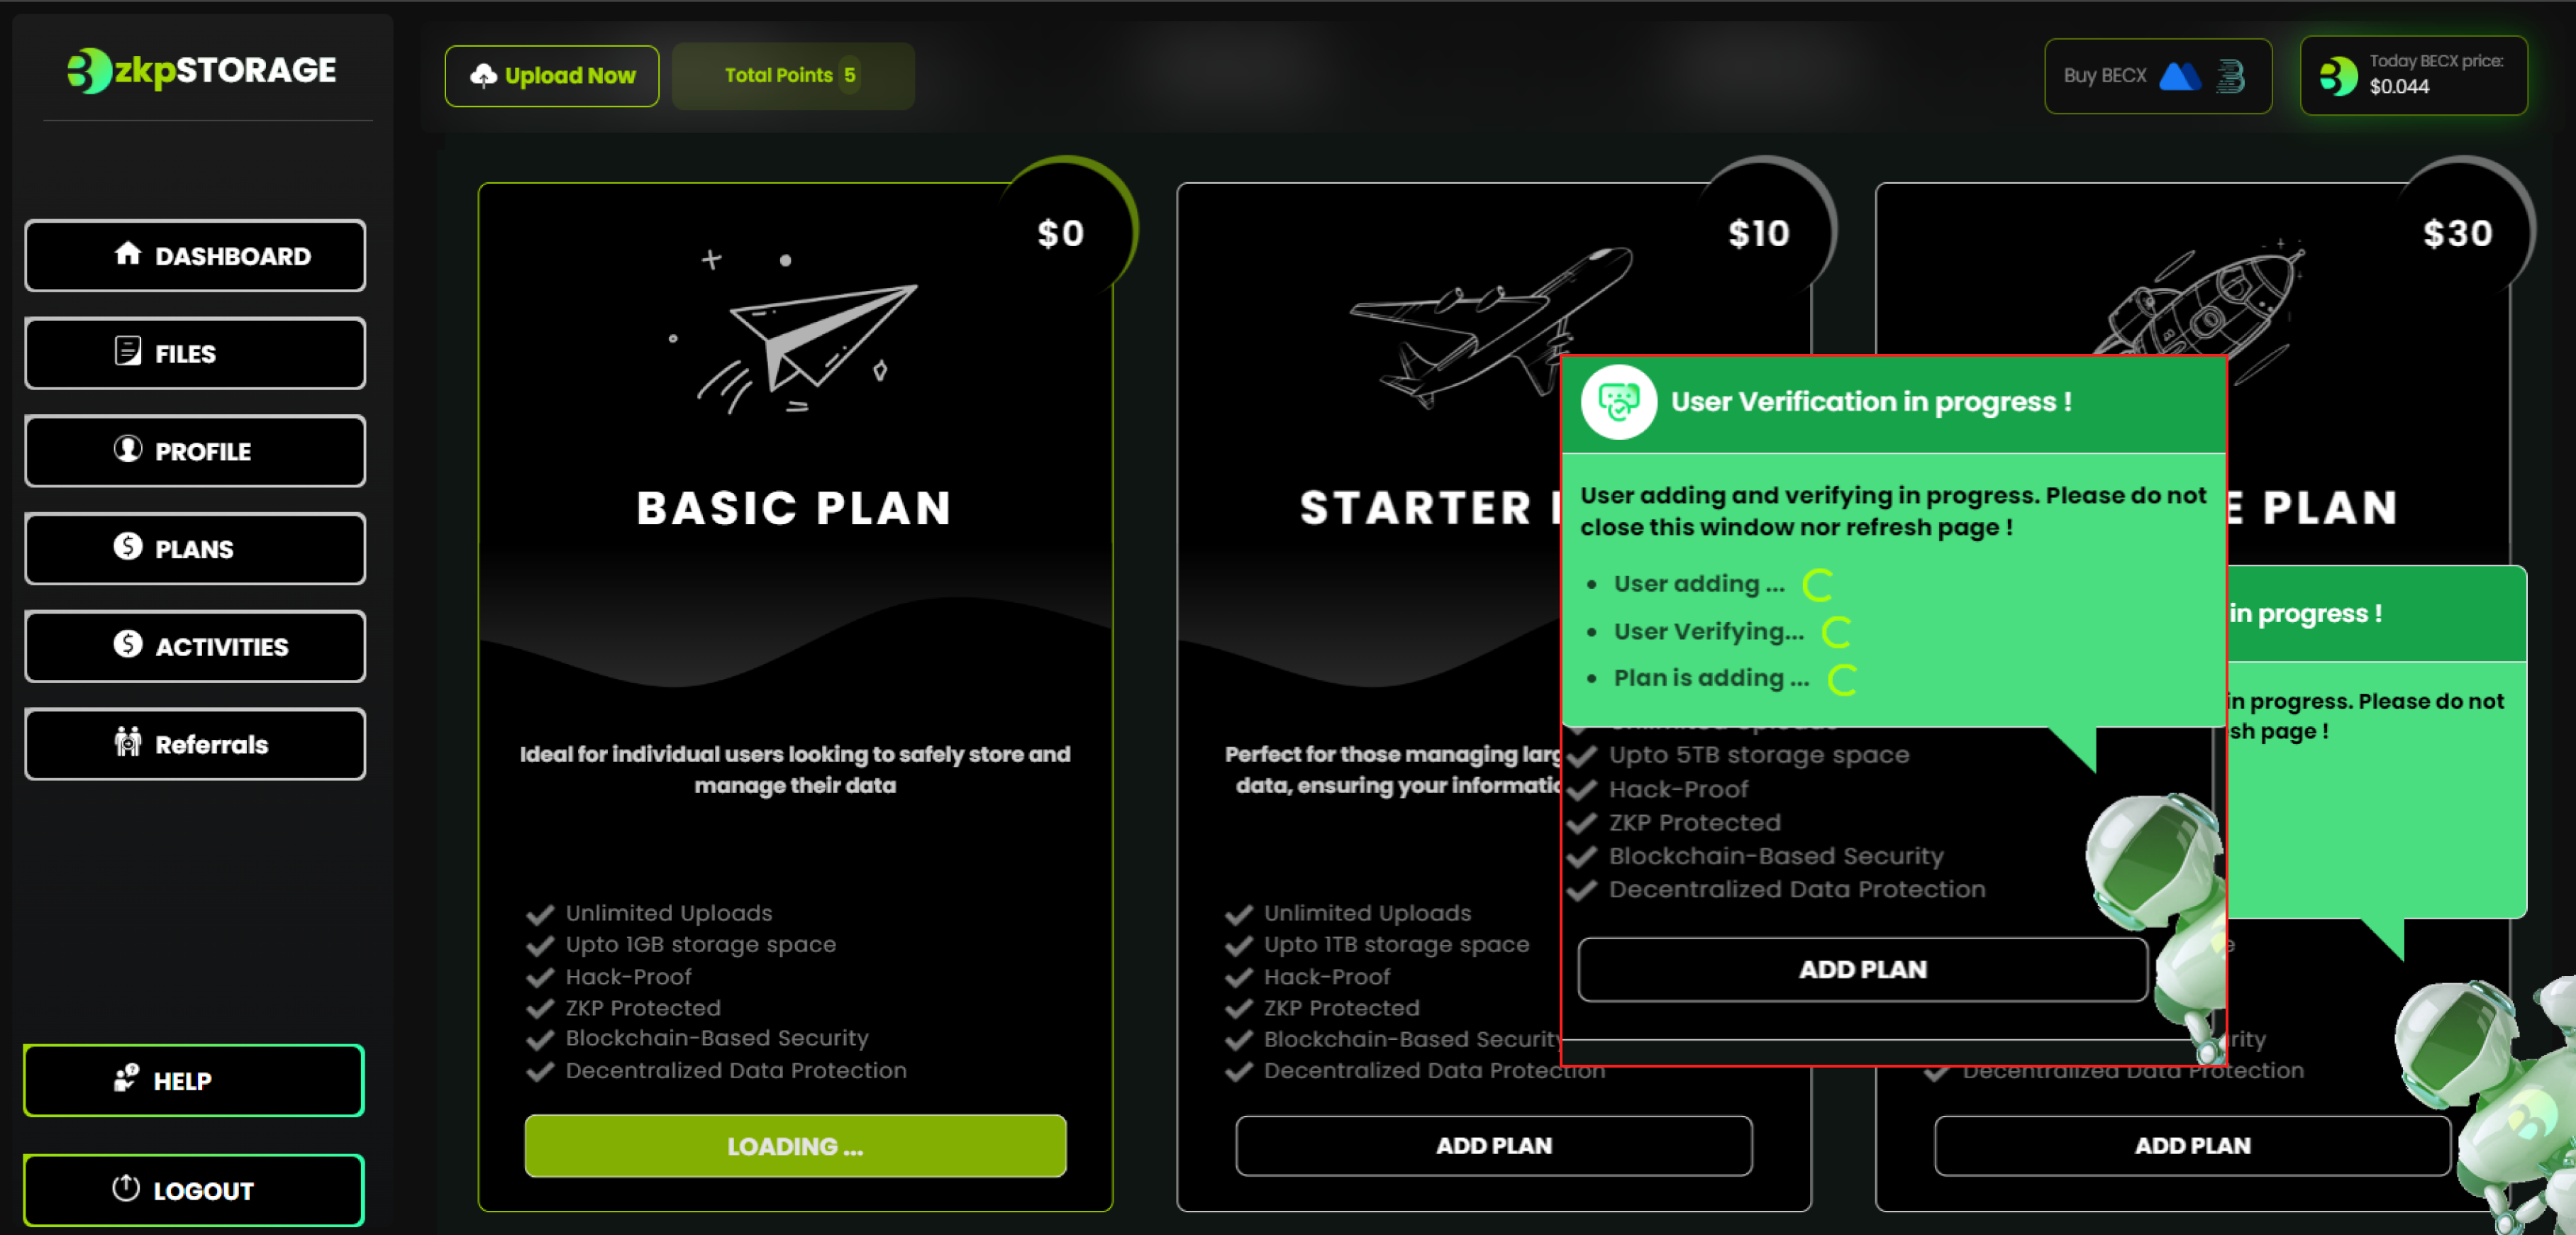
• Activate "Basic Plan"
Step 11:
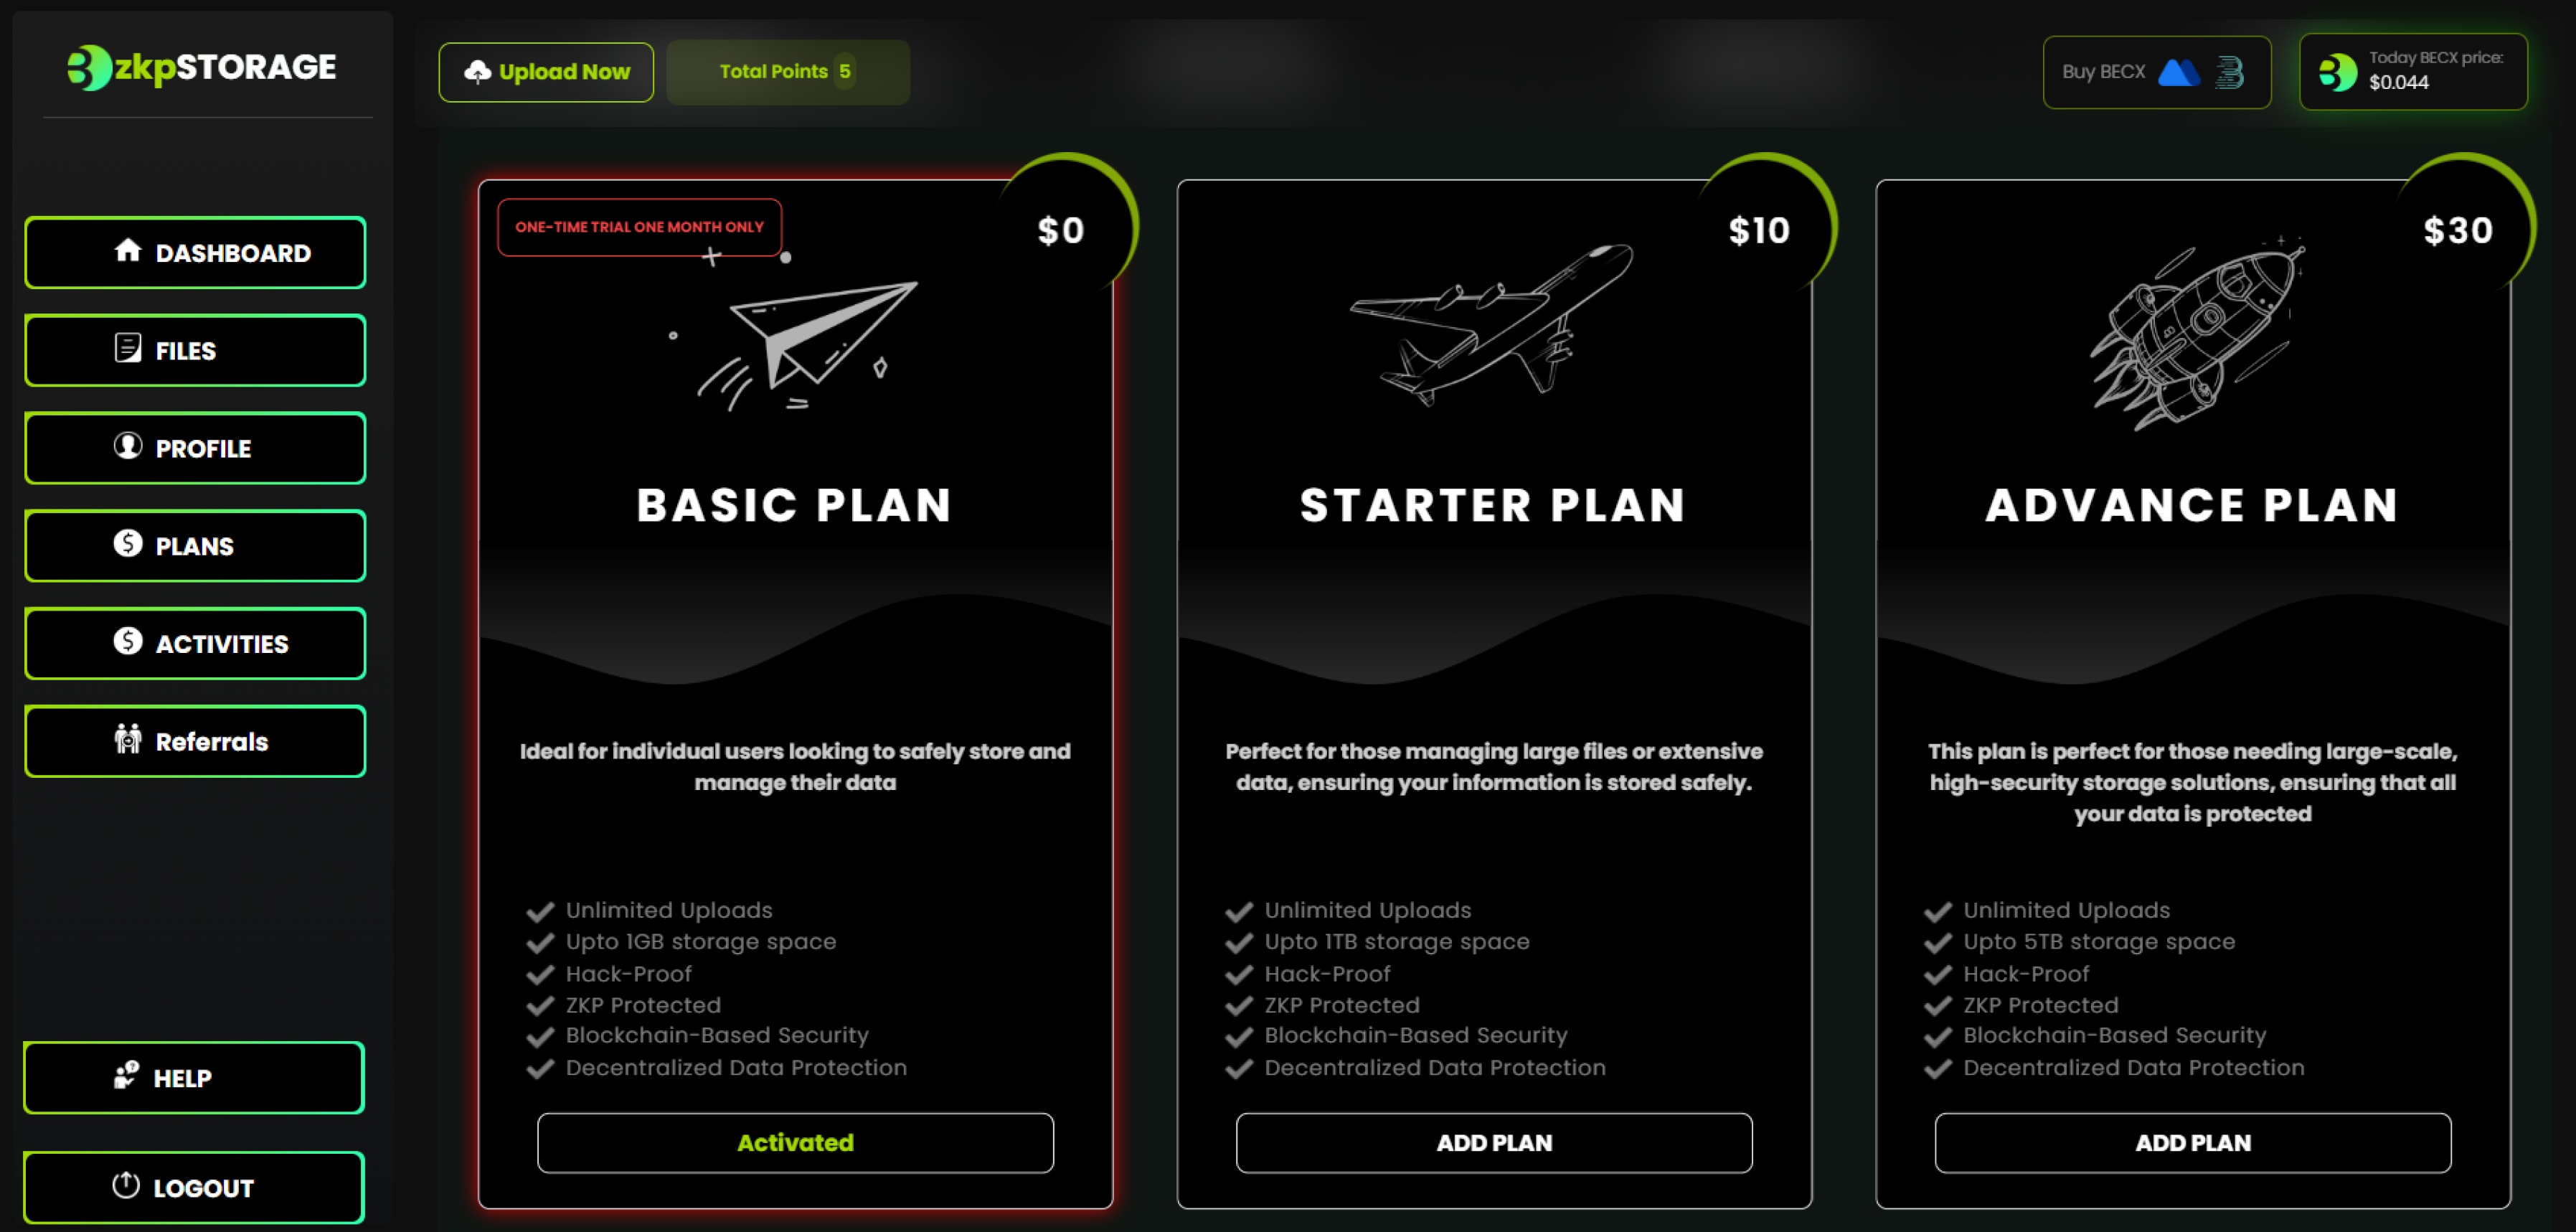
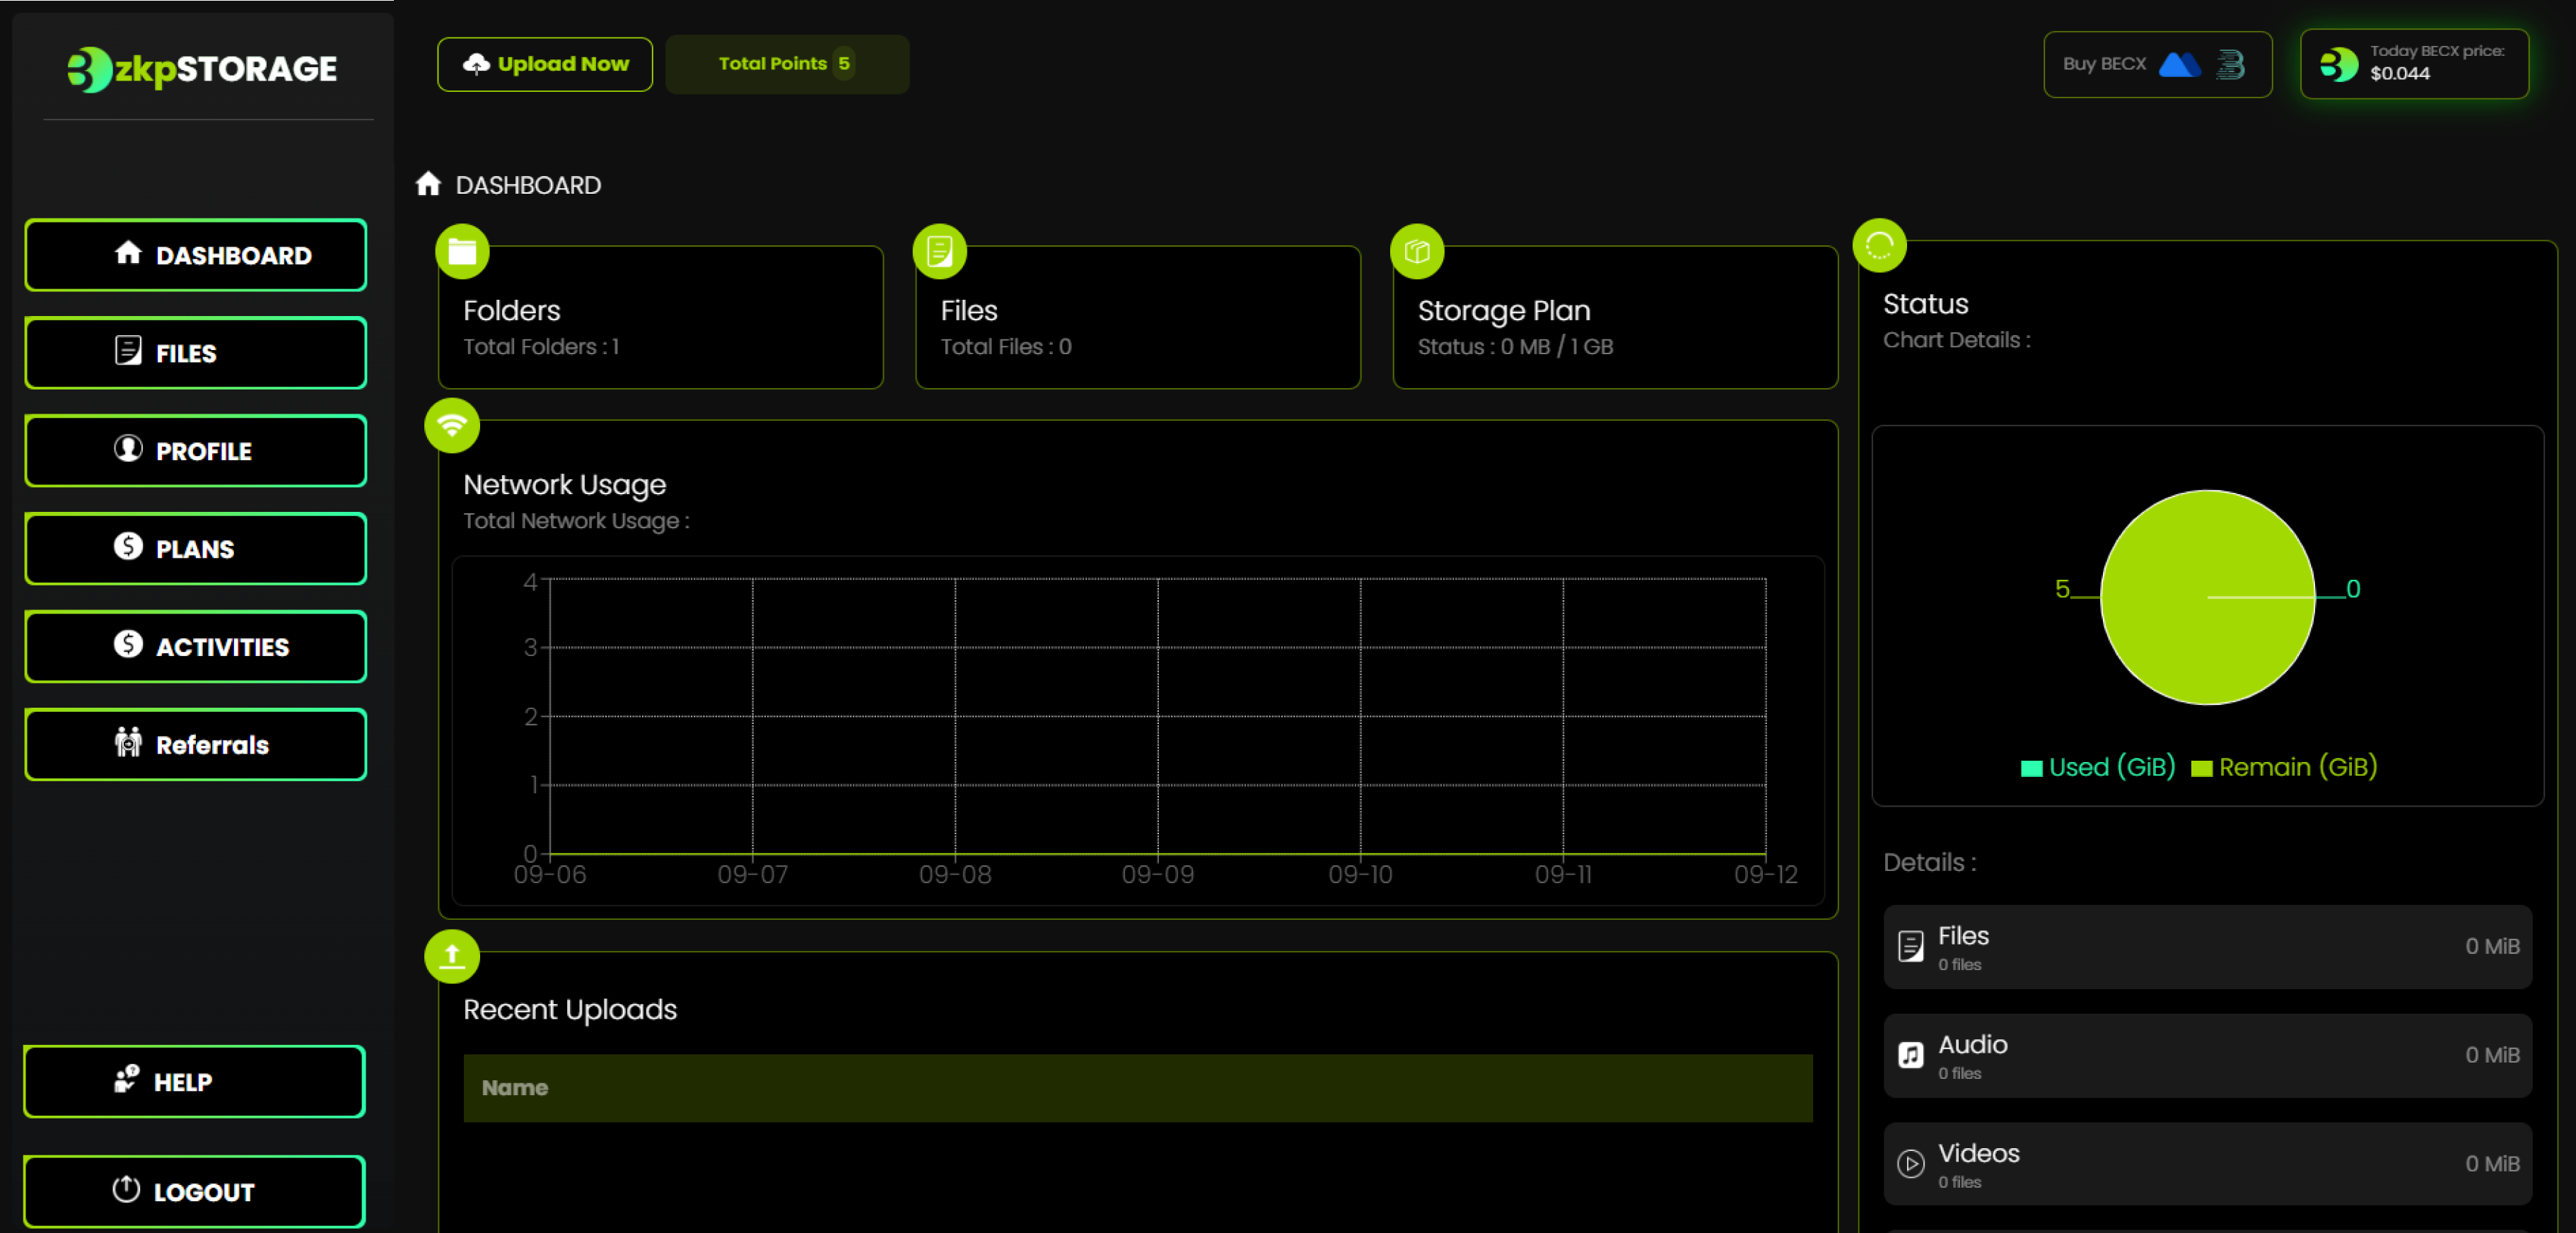
• Once the Basic Plan is activated your plan should look like this
Well, Done!! 🎉 🎉 Now you have successfully logged into the Bethel zkpStorage.